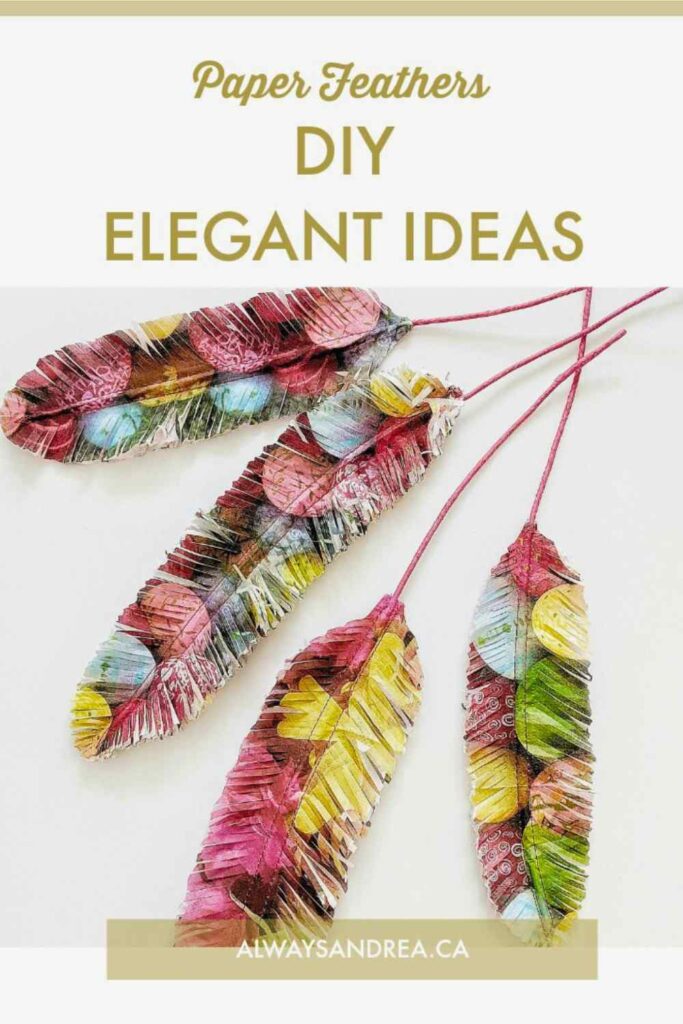
How to Make Paper Feathers – Fast and Simple
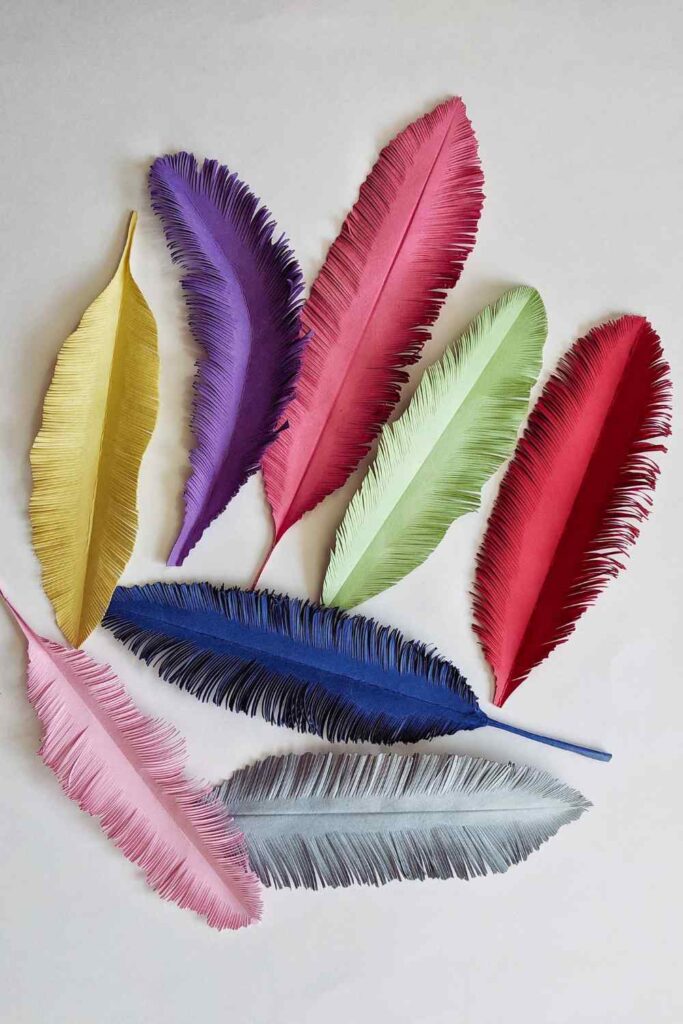
Welcome to my paper feathers crafting, where I’ve been exploring how to make feathers from construction paper. It’s the first project I’ve tried, and why you won’t see ostrich or peacock plumage, only quick and easy paper feathers to go.
Paper Feathers for the First Time in a While
Apart from grade school projects, in adulthood, paper feathers made with book pages caught my attention, but pulling out leaves from books, despite their age, makes me uncomfortable. If you don’t have the same bias, reach for the aged volumes you no longer need.
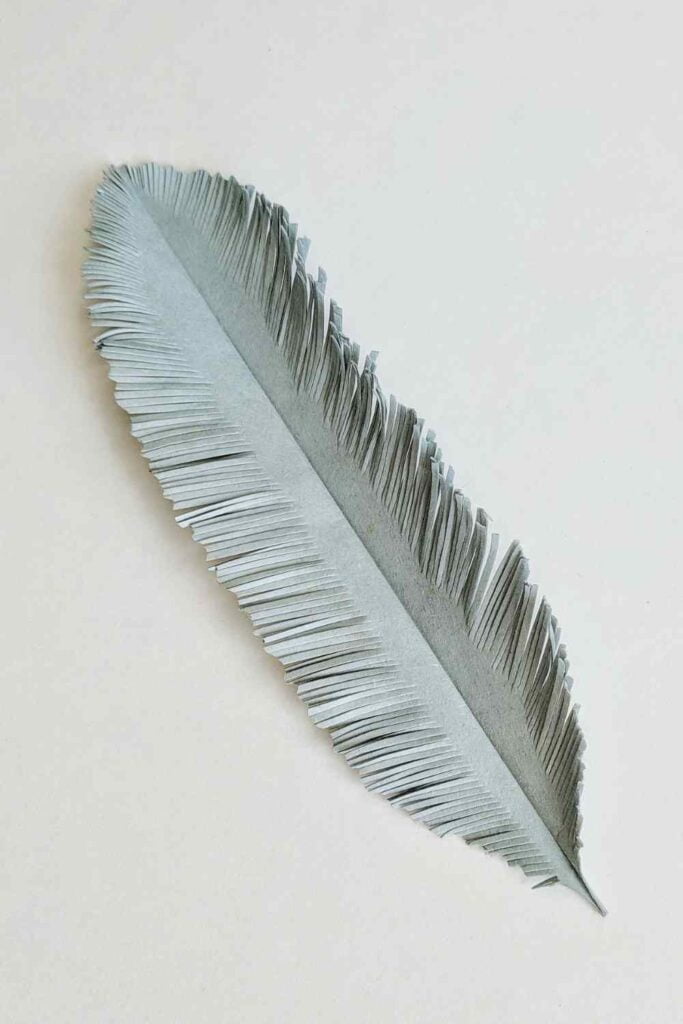
There isn’t much theory I can offer on the makeup of real feathers or the creatures they cover, but they were always in the yard during our youth. Otherwise, I know they’re symmetrical with even sides or asymmetrical, having variant edges, and I focused on that view in this craft.
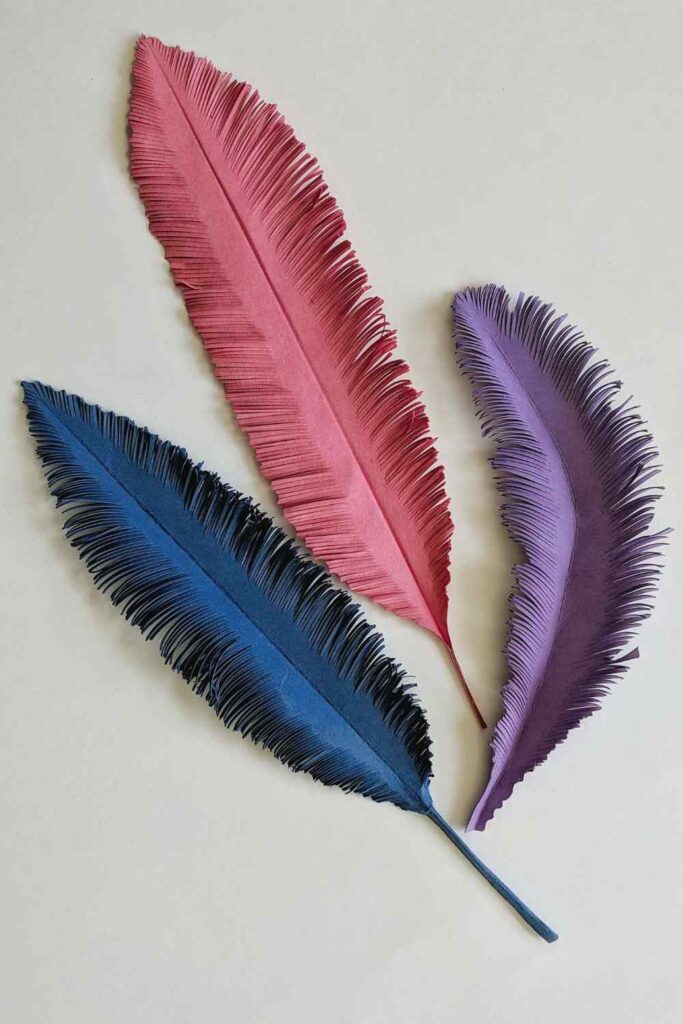
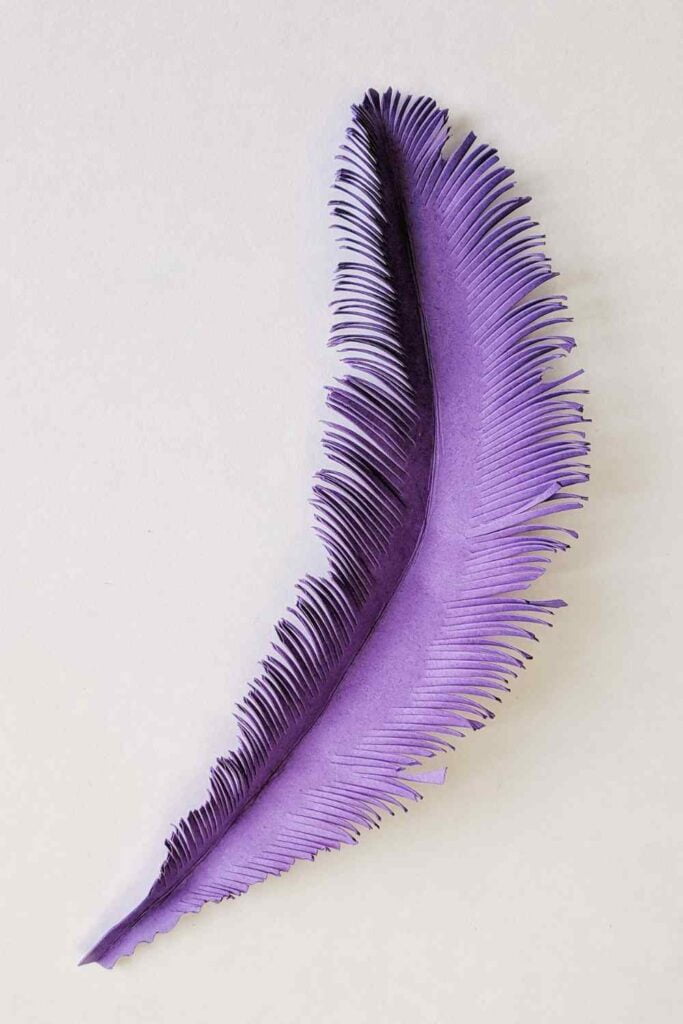
You can make your feathers in various sizes, from miniature to giant; for large, sturdy varieties, fuse multiple layers of paper.
No-Template Paper Feathers
Further, diverse ways to approach feather making are handy, and this project doesn’t offer a blanket lesson on making paper feathers. I landed this form by trial and error, and from what I learned, it’s not exclusive to the material I used. The idea works well with other papers of similar weights, and making them is straightforward; anybody can do it. Who’s anybody? Children and adults who have seen feathers and know how to use scissors and glue sticks.
Sizeable Options
You can make your feathers in various sizes, from miniature to giant; for large, sturdy varieties, fuse multiple layers of paper. Now, without rushing, but being brisk, here’s the fastest way to make feathers. There’s no template. It’s okay; you won’t need it.
Paper Feathers Step-by-Step
Time needed: 5 minutes.
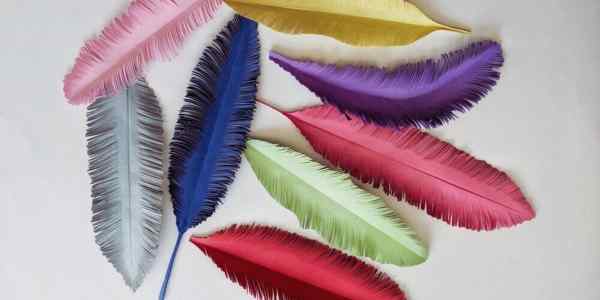
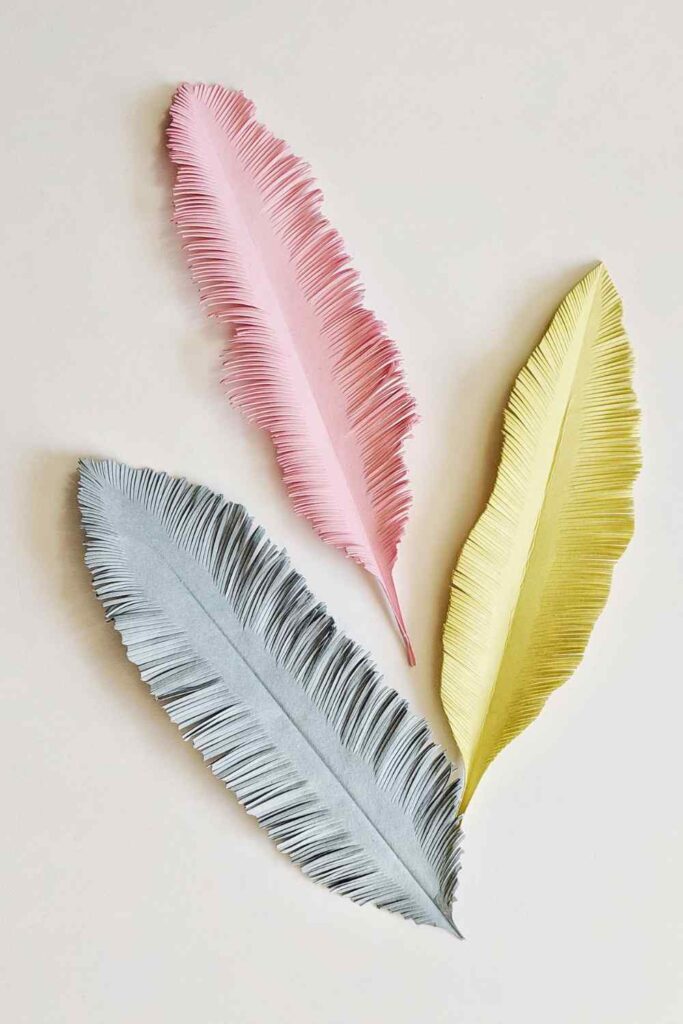
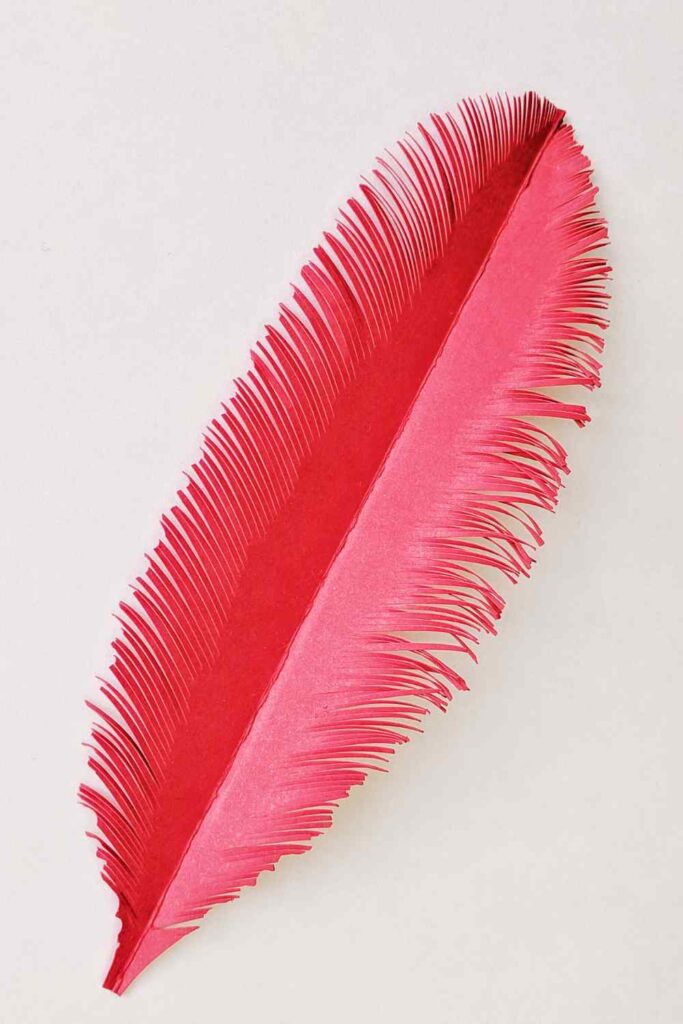
Whatever your lifestyle, or creativity bias, these paper feathers are among the simplest crafts, asking little time; using a glue stick to fuse construction or other papers is quick work. Make them in any colour you want.
Supplies
Construction paper
Glue stick
Tools
Ruler (Optional)
Paper scissors
Edge scissors (Optional)
Flat work surface
Instructions
1. Cut and Fold Paper
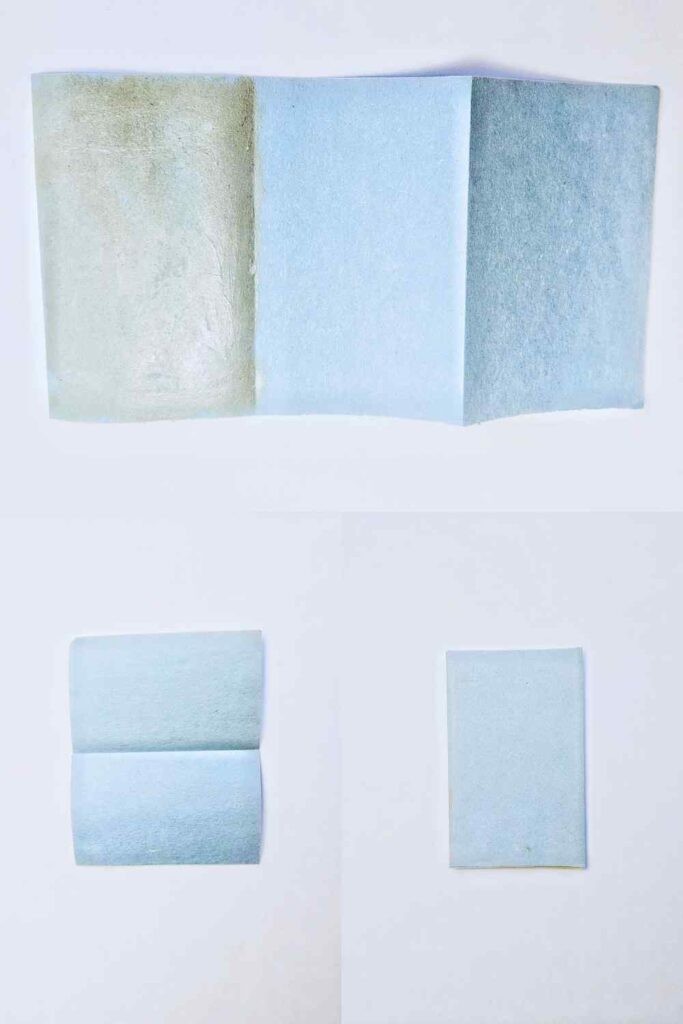
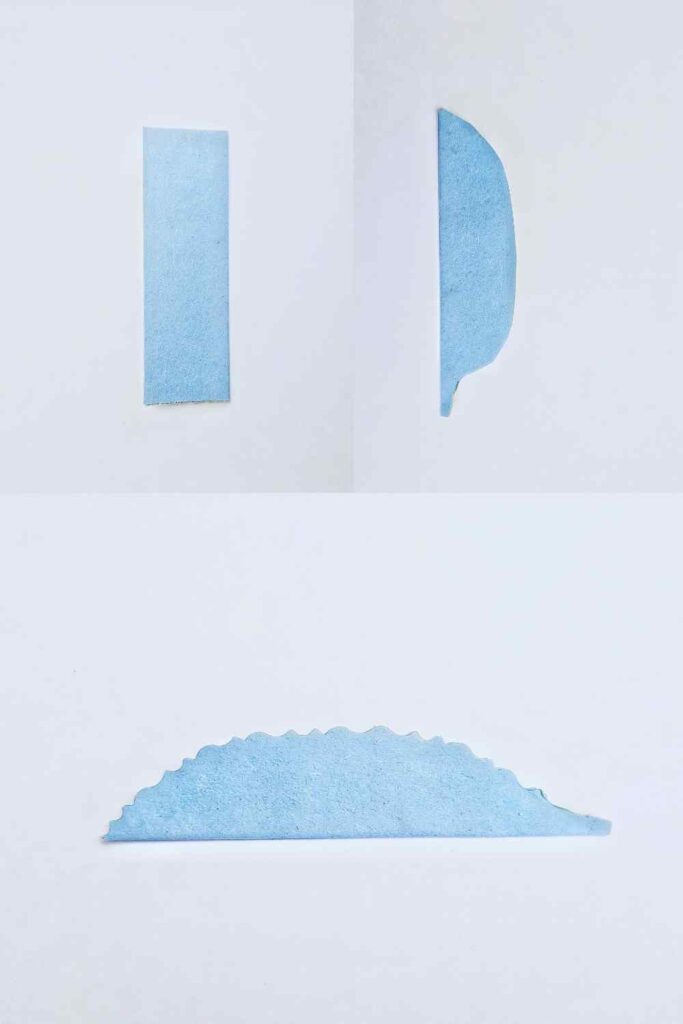
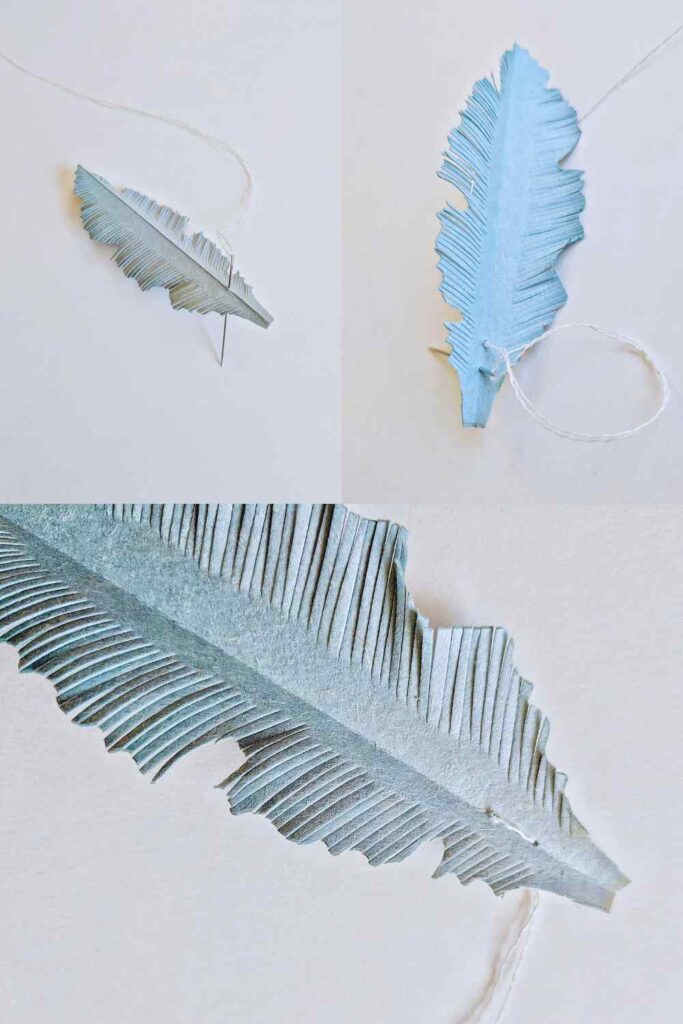
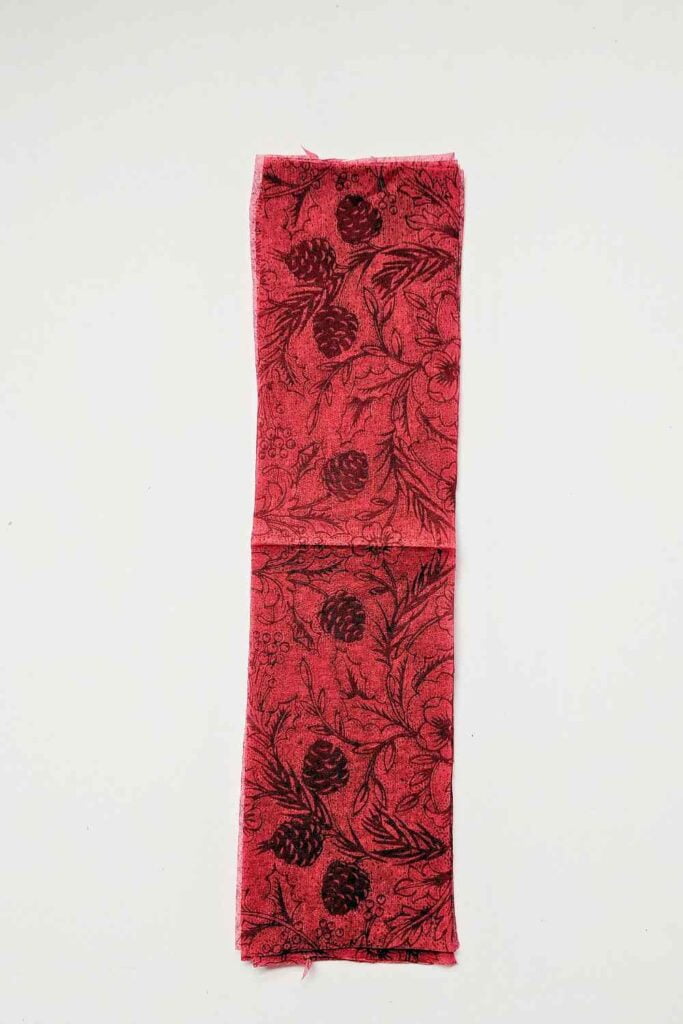
- Cut a piece of paper into a rectangle – the size of the feather you wish. If using compound layers as shown in the below image, cut the paper three times the size you need. Next, fold it into three equal sections. Apply glue to the pictured areas and allow to dry.

2. For Symmetrical Feathers
- To make symmetrical plumes, fold the paper rectangle in half and cut the outline, as shown in the following image.
- Outline feathers with edge scissors: Below, in the supporting photo, a feather cut with edge scissors. To me, it makes fringing paper plumes into consistent sizes more manageable. In addition, it speeds up the feathering steps. Despite that, the tool isn’t vital to your crafting outcomes.
3. Asymmetrical Feathers
- To create asymmetrical plumes, crease the rectangle off-centre. Then, cut and shape the edges. (b) Following, unfold and make slanting cuts from the borders, stopping short of the centre. Shape separate outlines on the left and right sides.
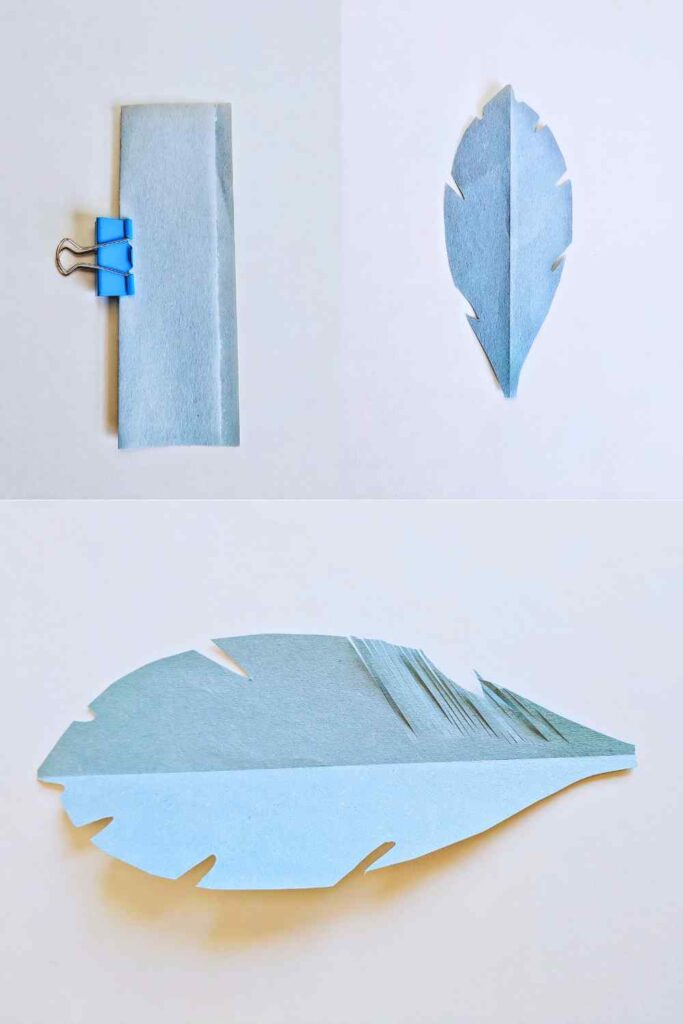
4. Unfold and Slice
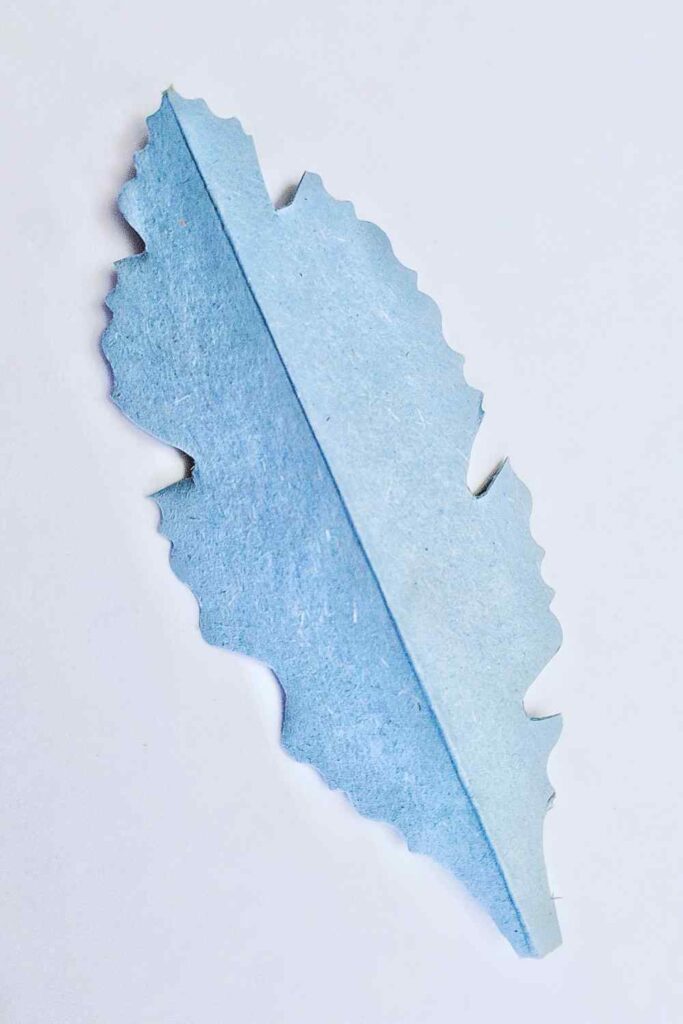
- Form rough and protruding lines by cutting out parts of the paper at uneven intervals. Your feather is complete and usable in various decorative settings after you’ve sliced your plume on each side. There’s more.
5. To Hang Feathers
- Hang your feathers from the ceiling or at a window: Near the plume’s base, 1/2-inch from the middle, make two holes; pass a threaded needle through feathers and tie a knot to create a loop.
Tips
Explore making paper feathers with materials you have on hand. It works well for variation. Remember, it’s DIY craft plumage, giving you a license for creativity. Try what comes to mind.
Cutting Paper and Scissor Styles
If you have them, try using edge scissors. They create an ideal guide on the sides of the feathers, allowing you to imitate a feathered look, but as mentioned earlier, they’re optional.
Note: The scissors work best on stiffer papers – even when tools are new. The cutting direction is significant, relating to movement; keep a slight angle.
DIY Paper Crafts Ideas
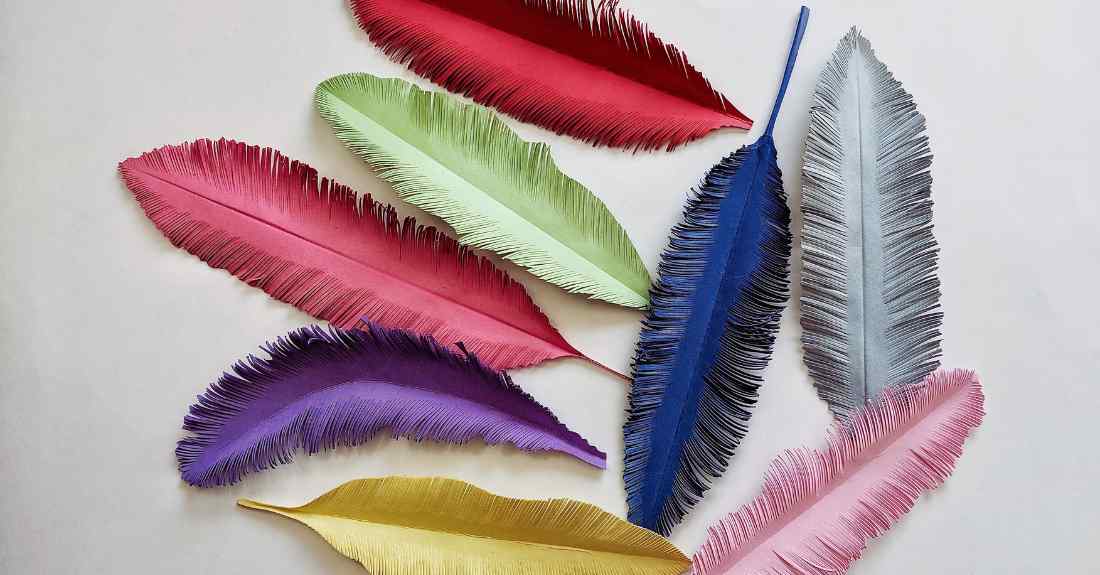
A group of varied or similar feathers can fill nooks and crannies if you plan on displaying them. Ditto using them in a backdrop or hanging them on a wall. For place cards: If you plan to write on them, make shorter cuts from the edges to the centrefold line.
As gift tags or place cards, one layer thickness of card stock or paper of similar weight is suitable. Best, you can complete the crafts above without making paper feather templates.
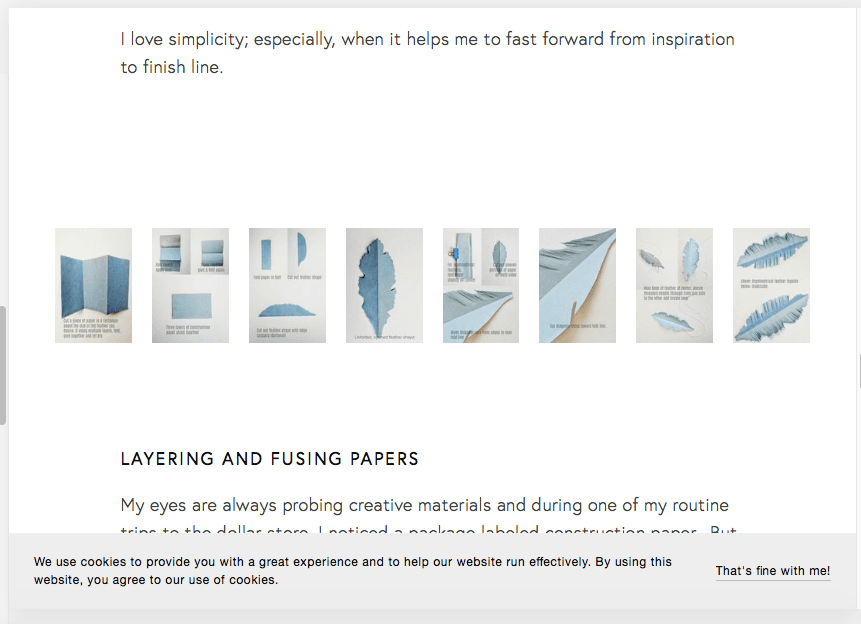
I hope you found ideas you can use, and if you don’t, tweak one or two from the group to fit your style. Below, see Making Feathers with Paper You Have.
Final Thoughts
Let Your Imagination Lead
Now, you can make paper feathers. I hope you make the most fabulous varieties you imagine. Remember, be unafraid to fail, and learn to laugh when it occurs. From that place, you’ll get delightful surprises often. Who knows? You may love this craft and decide to teach others how to make feathers with paper. When you get there, I promise it’s a pleasure.
Making Paper Feathers with Paper You Have

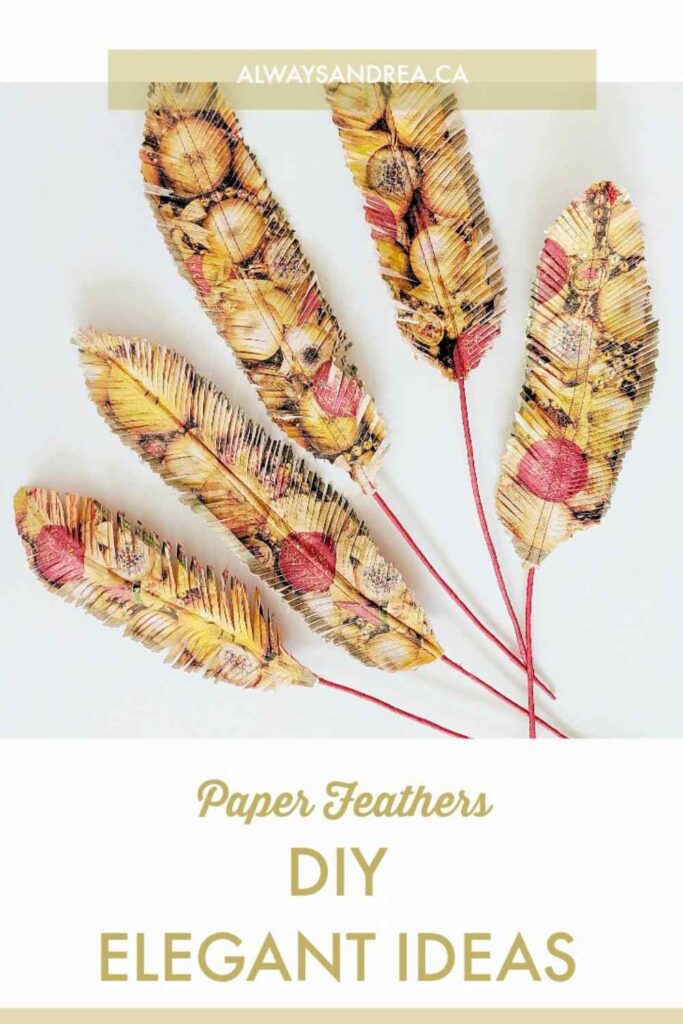
Paper Feathers – How to Make these Chic Paper Crafts
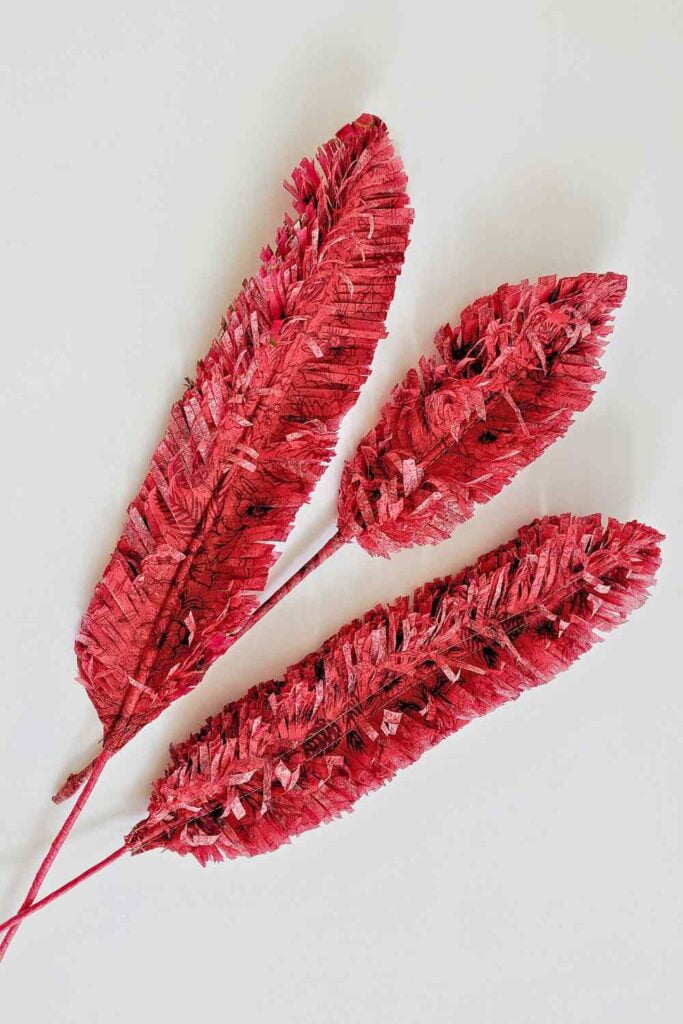
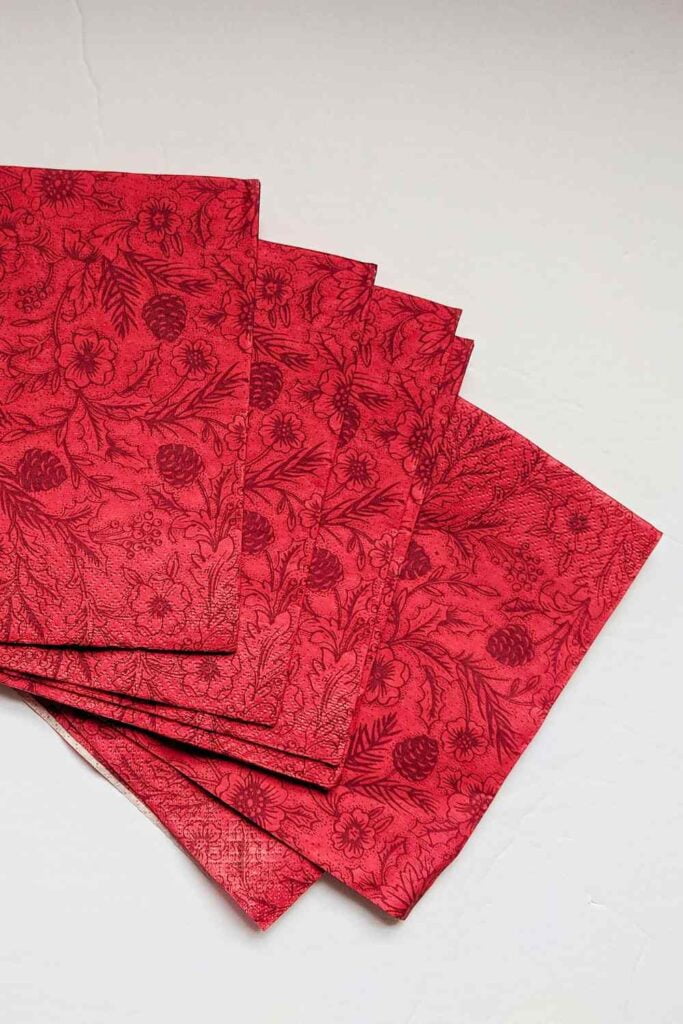
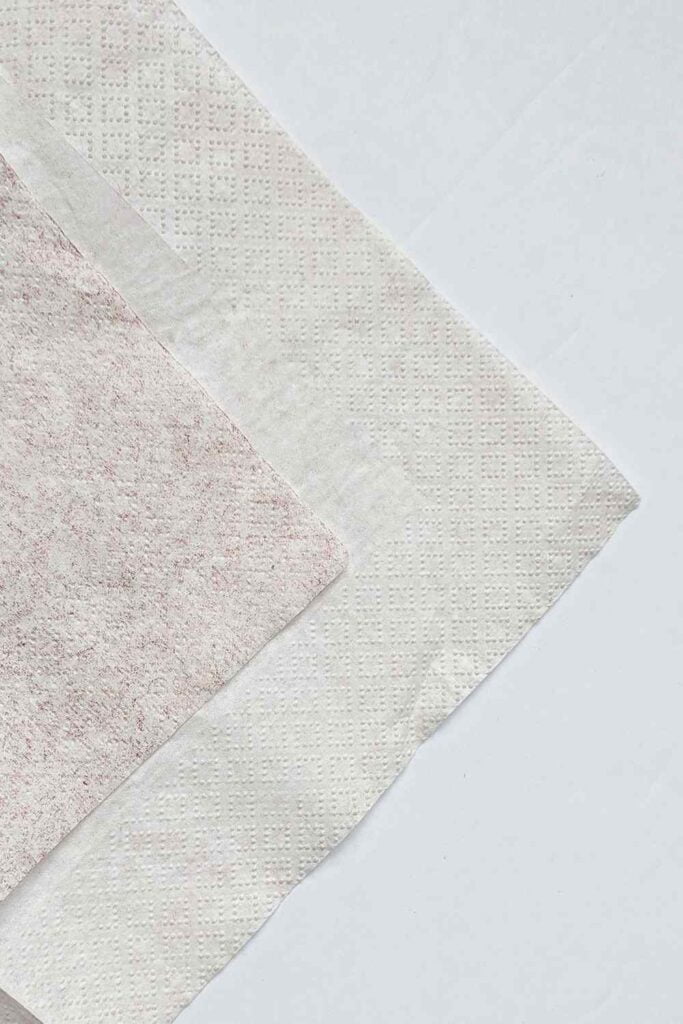
Welcome to making paper feathers with the papers you have. Plumage is on the table again, and this time the material is paper napkins, leftovers from my mom, and free.
It’ll surprise you with the lively plumes you can achieve using pieces meant for recycling.
You may know concepts never stay in one place here; they always find their way into other projects. It’ll surprise you with the lively plumes you can achieve using pieces meant for recycling. First, I made muslin feathers using a paper plumage guide, and for the featured set, the fabric principles are the reference point.
Paper Napkin Feathers
Time needed: 30 minutes
Make these chic handmade paper feathers out of paper napkins. They are perfect for multiple home decor uses, but decorating vases without flowers is an ideal way to use them. Gather the needed supplies, separate the napkins, cut off borders first, and follow with covering the stems.
Supplies
- Paper napkins – I used 3-ply
- Glue stick
- Bamboo skewers, 12-inches or wire stems. I bought a roll of garden wire and cut them to the length I needed.
Tools
- Paper scissors
- Sewing machine and all-purpose thread
- Flat working surface
Instructions
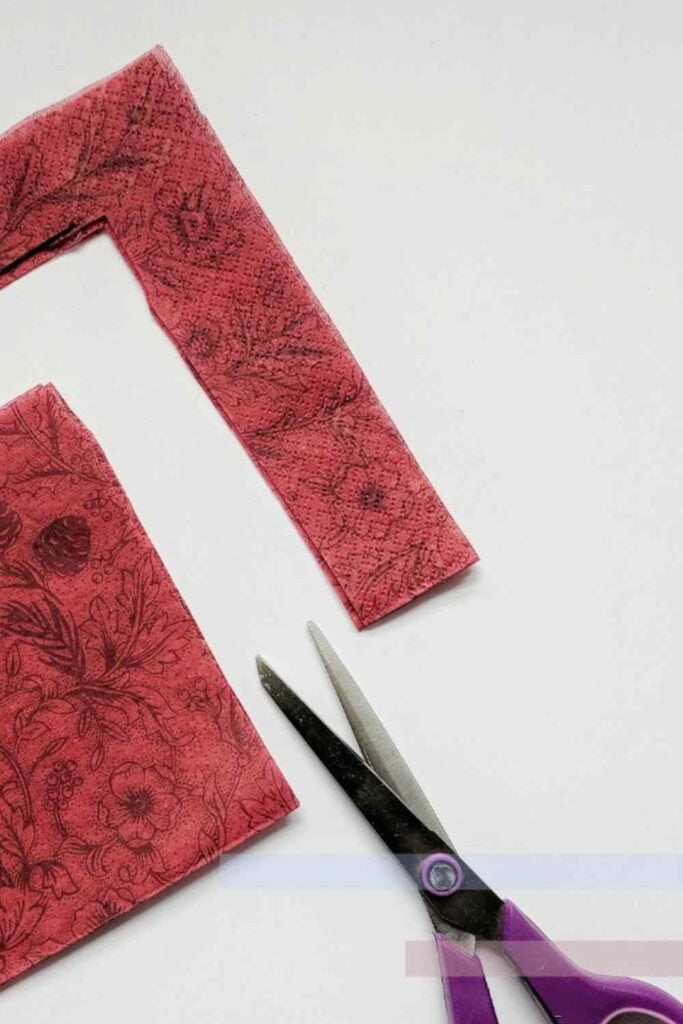
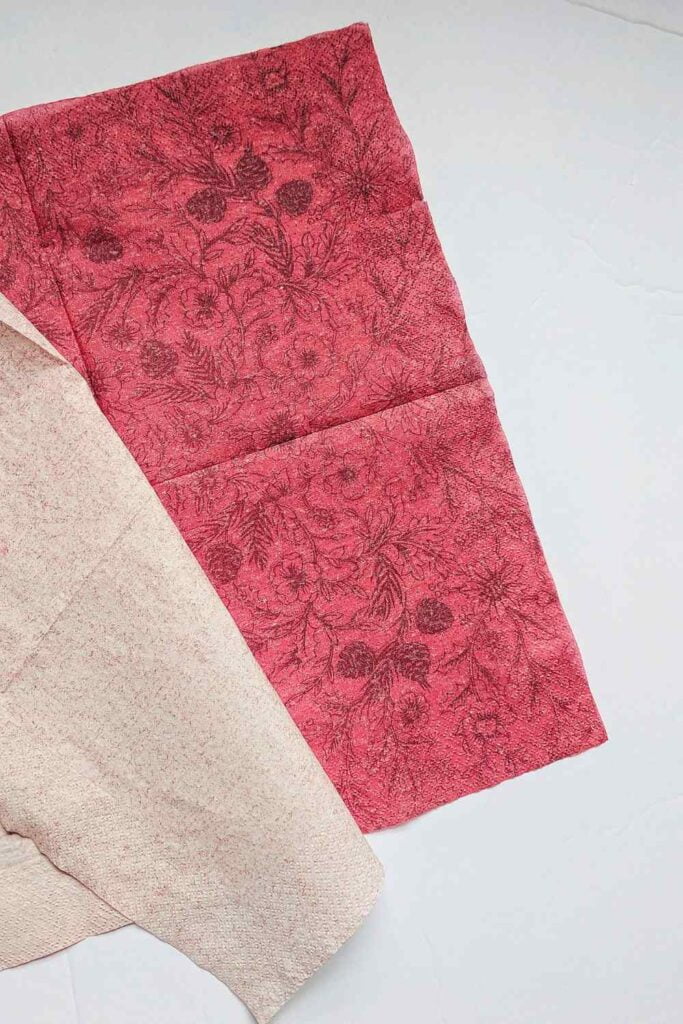
1. Cut Off Borders and Separate Napkins First
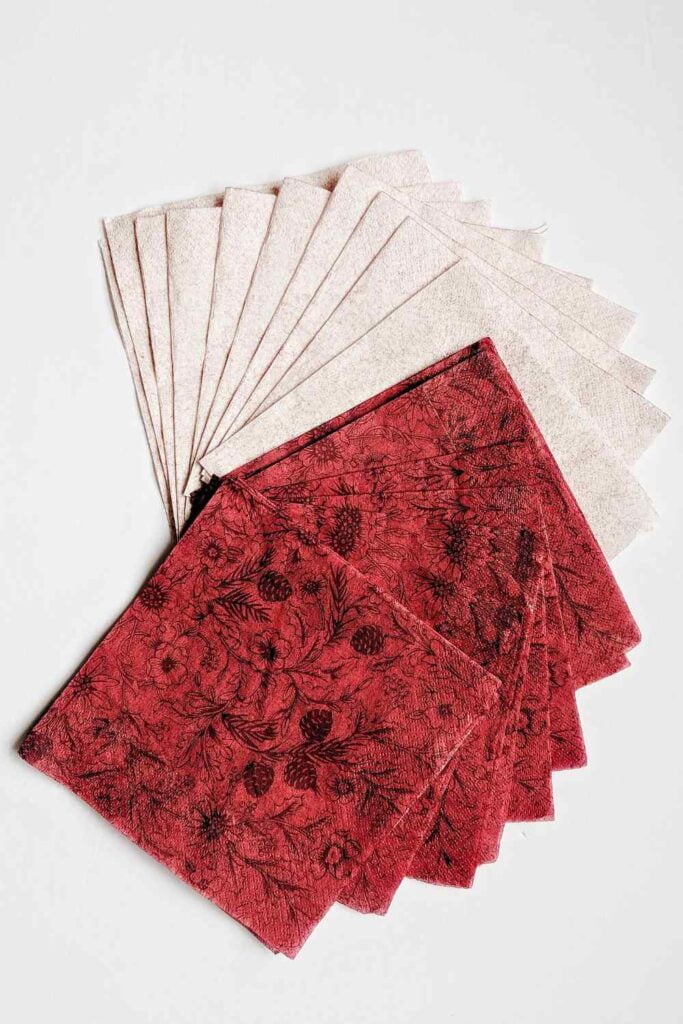
- Use scissors to cut off the embossed edges of the napkins and remove the parts you won’t use. Here’s the easiest way to detach layers. Pick a corner of the serviette and take care in pulling the sheets apart – dampened fingers can help when it gets tricky.
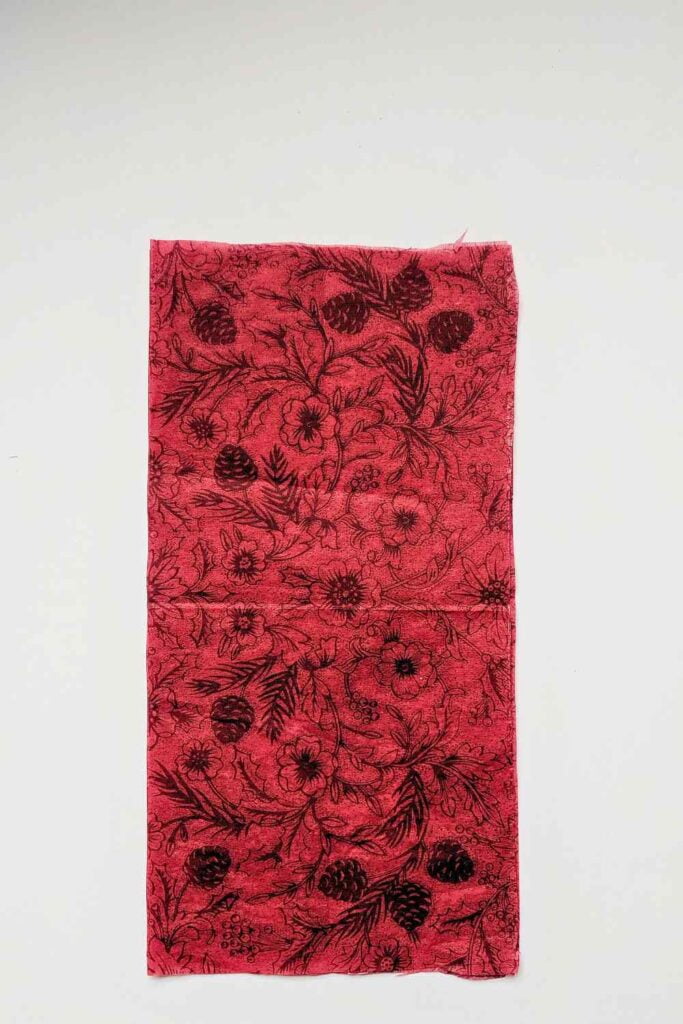
2. Marking and Cutting Out Paper Feathers – Symmetrical If you want Them
- Cut rectangles and make a vertical crease at the centre. They don’t need precise pleats, but guidelines bordering the centre of the feather will do. Afterward, you can cut out and shape the paper on the fold.
3. Creasing Paper to make Asymmetrical Feathers
- For asymmetrical plumes, fold the papers off-centre. It doesn’t have too much—a 1/2-inch will do; you’ll need to create the distinct edges. You can outline the shape with a pencil if you wish; I didn’t.
- Remember, you’re going to form a pocket when deciding the sum of layers you want. For example, a six-layers feather will call for fusing three rectangles along the middle of the paper, and you’ll need two sets for the full plume.
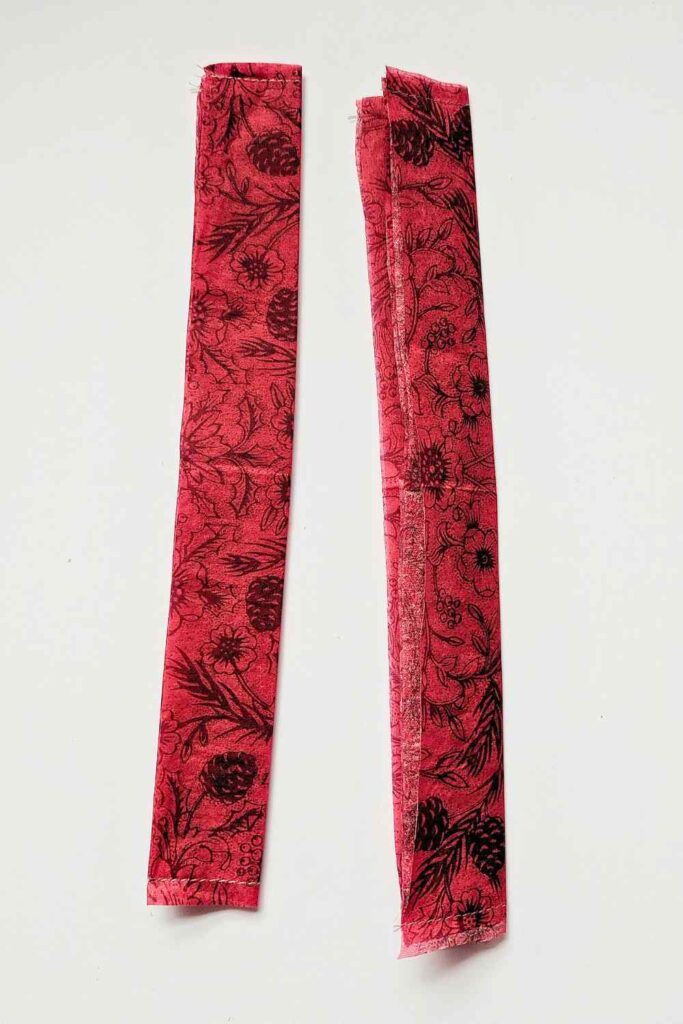

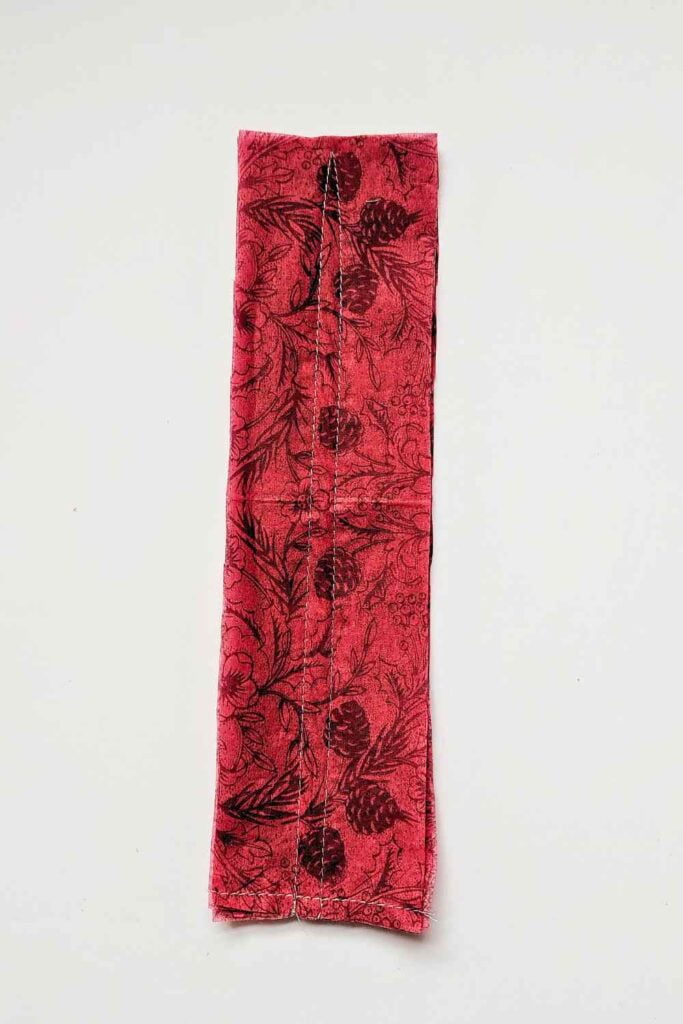
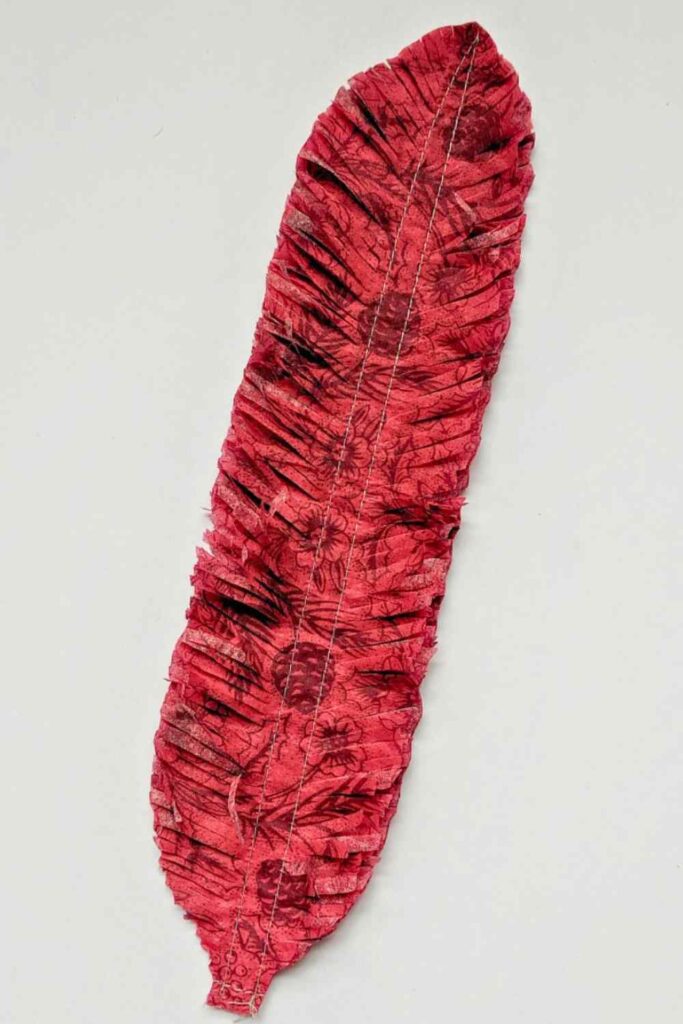
4. Make the Pocket at the Centre of the Feather
Sew a pocket wide enough to contain the stems in the middle of the paper feather.
(a) Begin sewing approximately ½-inch from the lower end. Keep a straight line and decrease to the middle of the plume within an inch from the tip.
(b) Next, pivot and continue to the first seam width and stop ½-inch away from the edge. Remember, for symmetrical shapes, fold napkins as outlined above and cut.
5. Cut out the Feather Shape
Use scissors to cut out the shape of the feather. Remember, you could outline it ahead of time. For asymmetrical feathers, don’t forget to crease the napkins unevenly. Besides, cut off small parts of the paper at irregular intervals to create edges.
6. Place Stem in Centre Pocket
Slide the stem into the pocket of your paper feather before making cuts. It will help to keep the feather stable while you work. Besides, it acts as a handy stop-point. In the image shown, my feather has cuts because I mounted it on the stem to fringe the edges before I took the picture.
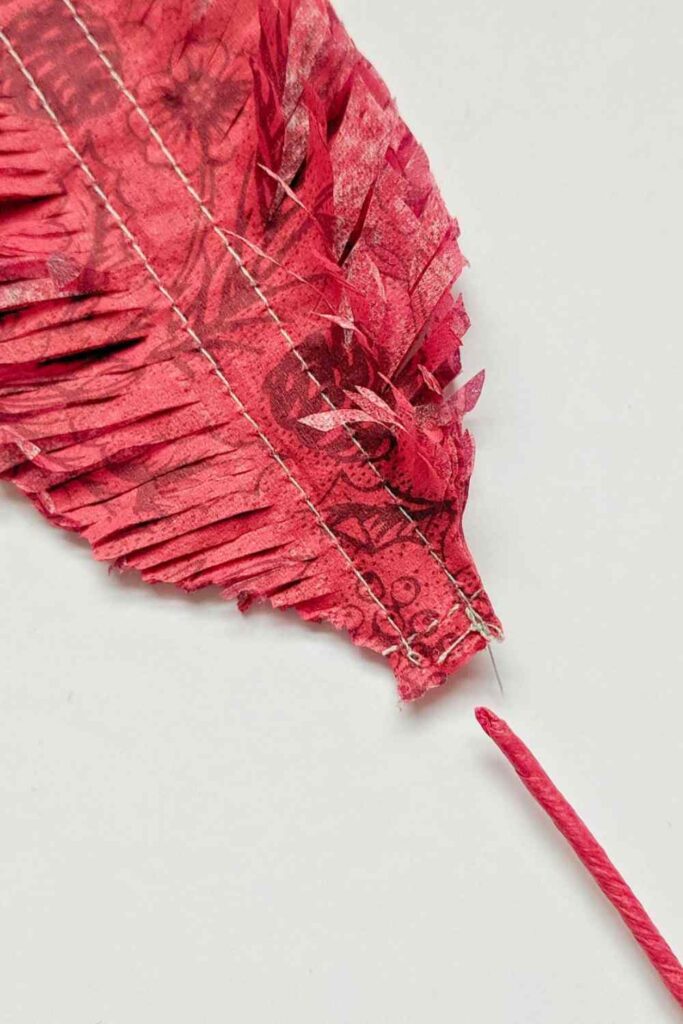
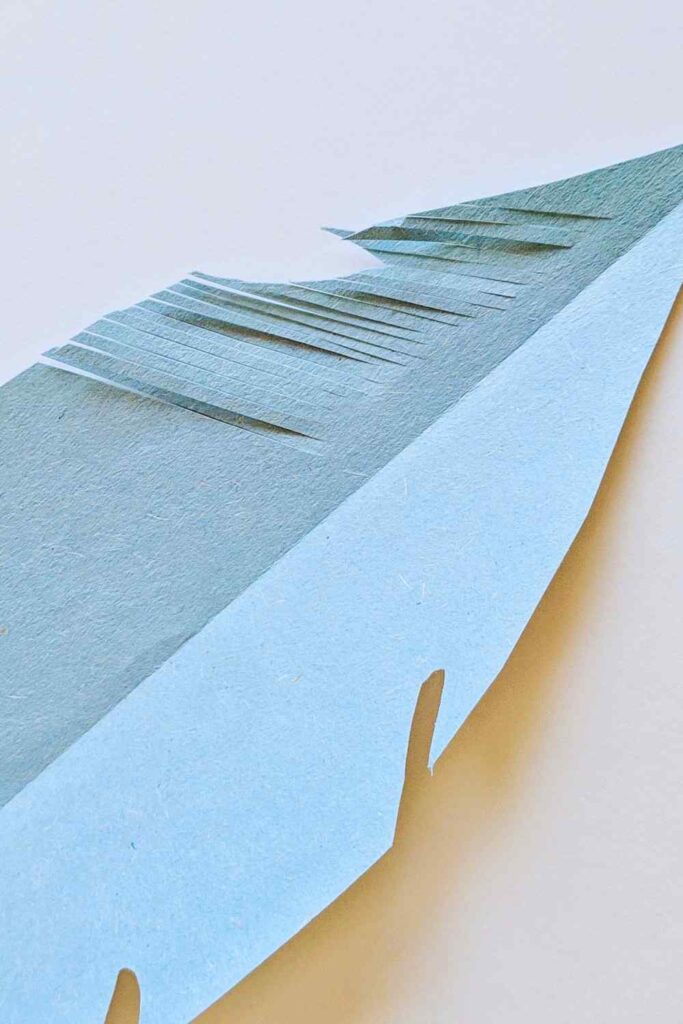
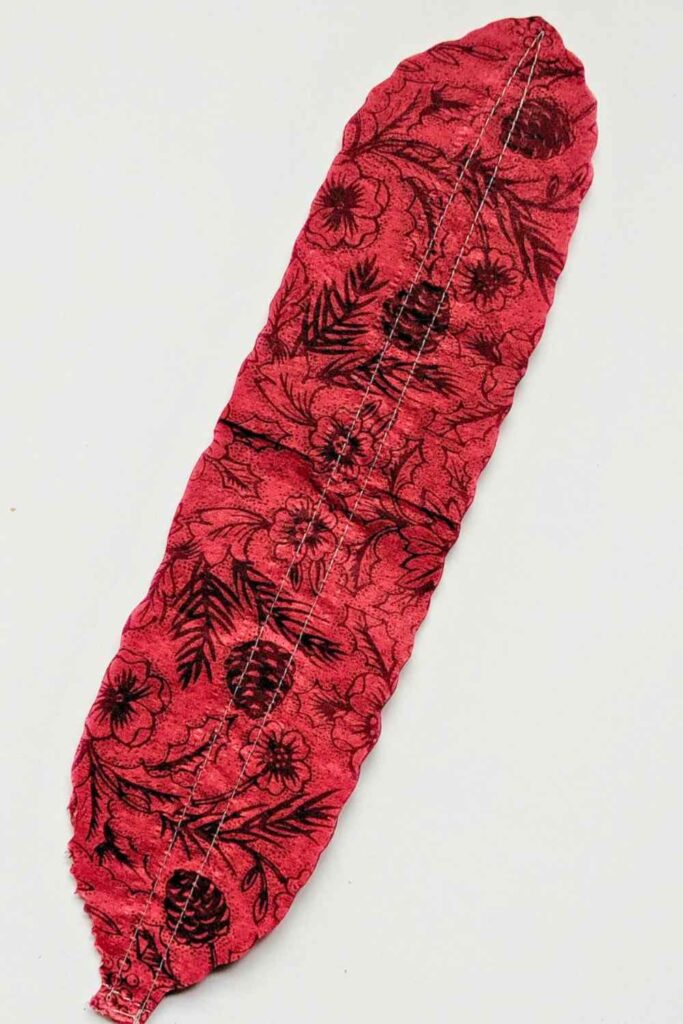
7. Create Feathered Edges
Use your scissors to cut ¼-inch slices from the edges of the feather near the stitch line. It’s the same step used to make fringe paper flowers and centres. Keep a slight dipping angle because it shows flow instead of a set showing.
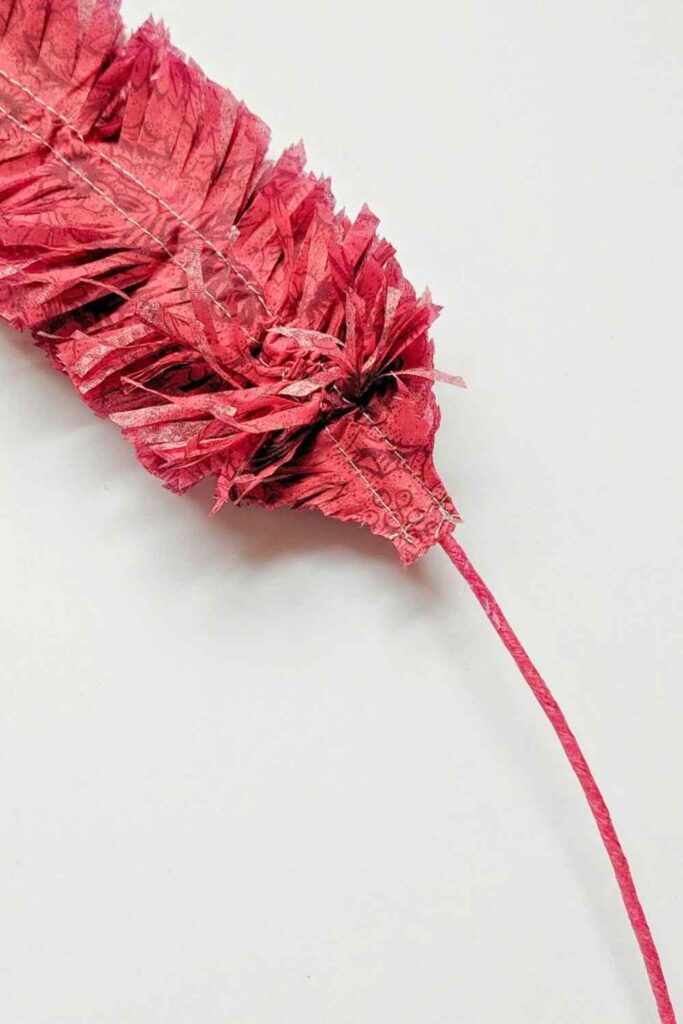
8. Glue the Stem
After cutting the borders, push the base of the feather to its original position and apply glue to the stem; squeeze to confirm proper adhesion.
That’s it. You’ve made the feather. So what do you do with it? Start brainstorming ideas. First, there’s much decorating you can do with them in your home decor. If creating stylish and glamorous spaces is among your goals, you’ll use them. Besides, making feathered wreaths and wall art is a popular choice.
Yes, it takes many feathers to make the crafts mentioned; time may prove the essential supply in your budget.
I hope you have fun making whatever plumage comes to mind. For more ideas, see Paper Feathers – Make Them Gorgeous.
Construction Tips for Paper Feathers
Separating napkin layers can prove tricky, and sometimes they’ll tear. Don’t worry; by the time you finish the feather, it won’t show.
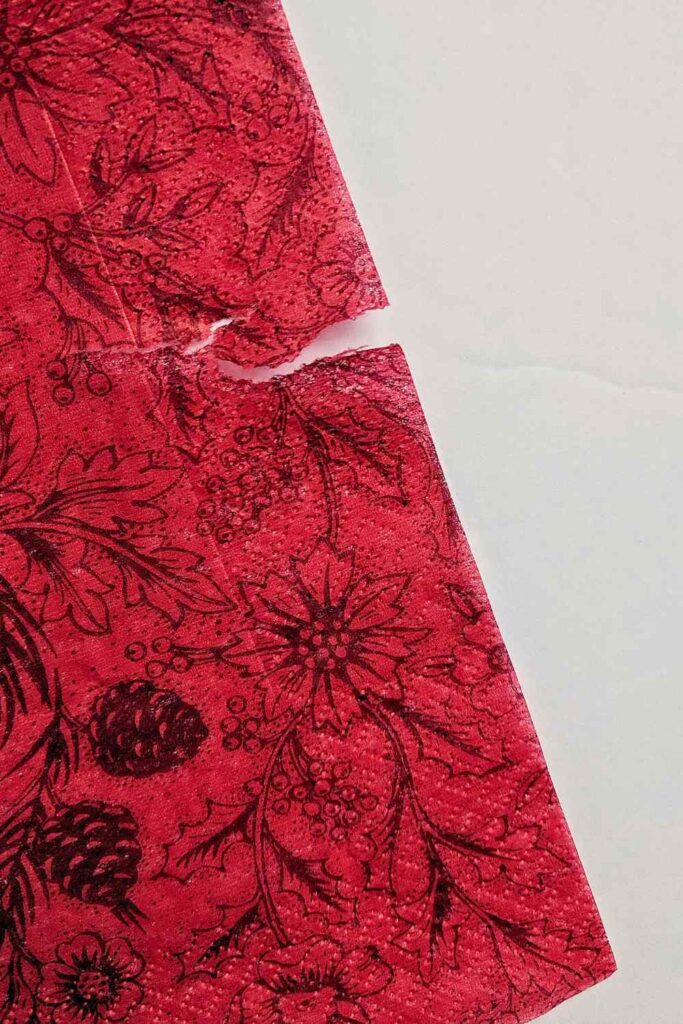
In addition, don’t toss the under layers because you can use them in other projects. The same goes for the borders; use them to cover stems or make miniature flowers and centres.
Match or Contrast Threads to Paper Feathers
All-purpose thread works for everything, and if you want the stitches to show when creating the centre pocket, choose a contrasting colour.
To make centres for your paper feathers, you may buy a roll of garden wire and cut the lengths you need. For subtlety, select thread a shade darker than your napkins. I used a medium grey shade because I wanted the stitching to show in the photos.

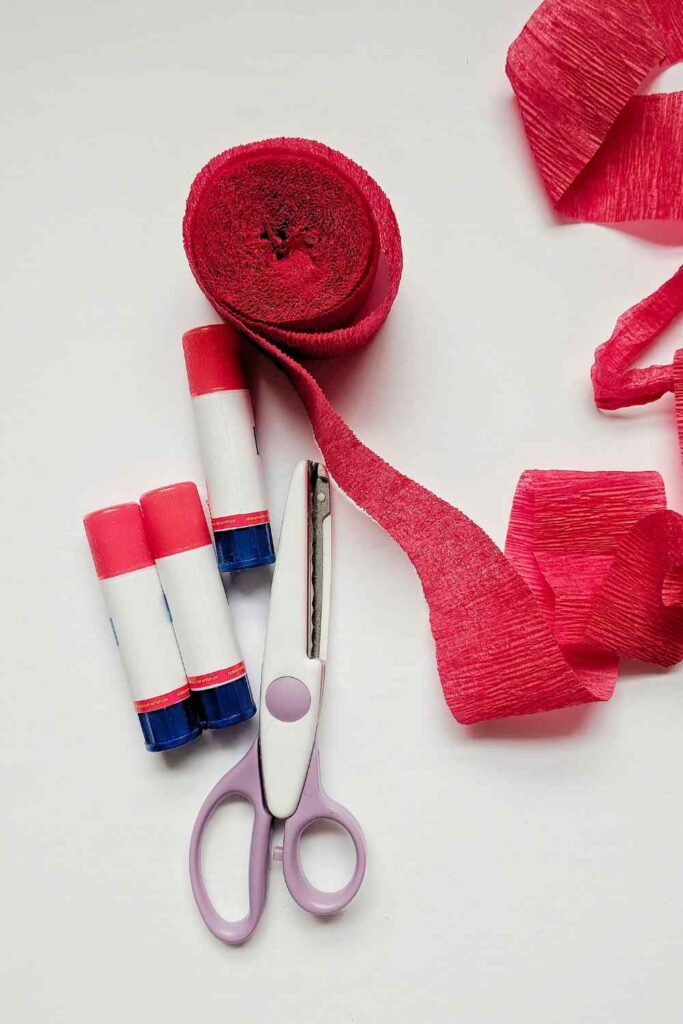
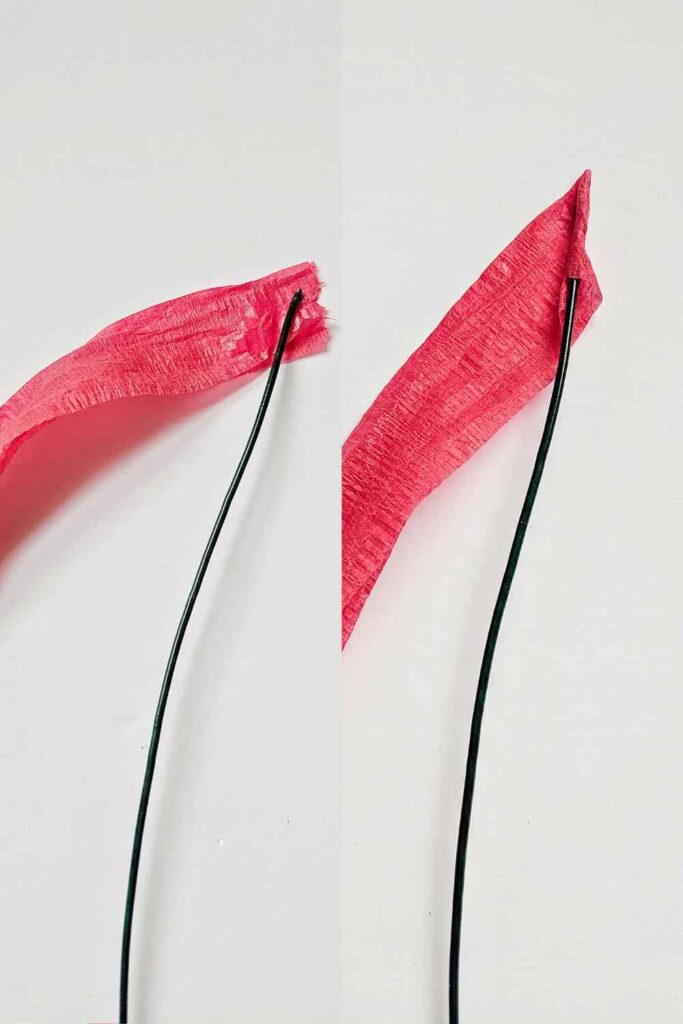
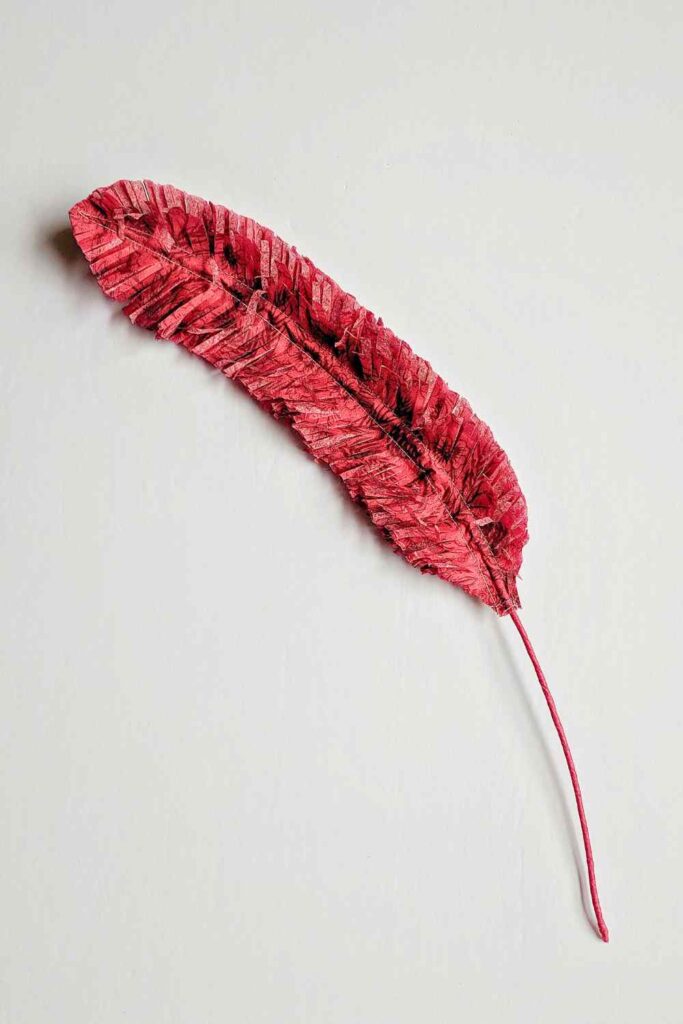
Cover skewers or wire before making feathers. Above, I used red crepe paper streamers. Important to note the glue stick is for bonding the layers at the center of the paper feather before sewing the pocket, preventing sheets from shifting. Besides, you’ll need glue to cover skewers or wire. Finish the shafts before feather construction.
Completed Paper Napkin Feather
For colourful and affordable paper napkins, try the dollar store. They carry a range of vibrant hues you can use in other paper projects. For this set, I used supplies I had on hand, but in the past, I found charming, inexpensive varieties at my local Party City.
More paper feathers await my attention.
As always, it’s great to have you visit. Thank you for stopping by and spending your time.
If the LORD will, I’ll see you the next time you visit.