
Making a Bowl Out of Paper is a Quick and Easy Craft
Making a bowl out of paper can be a fun and engaging project that supports your creativity. The best part is that you can form your bowl in any size or shape you want, using distinct styles and varied papers you may have. One frequent method used to create a paper bowl is paper mache. For the featured project, you will need coffee filters and paper napkins. Don’t worry if you don’t have the supplies I used; employing them is a means of showing materials you have can work. You can use a wealth of paper to make bowls. Repurpose old newspapers or magazines, aiding your creativity and cutting waste.
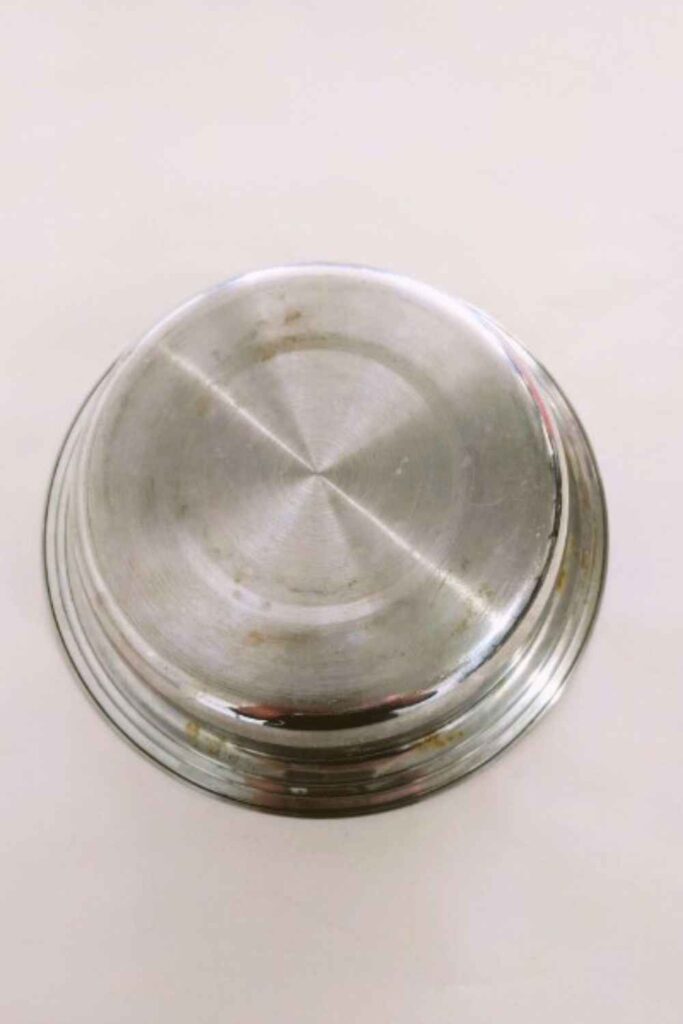
Start by choosing an object of your desired size and shape; I used a bowl, but balloons, plastic and metal containers will do. Next, plunge the coffee filters and paper napkins into a mix of water and glue, and layer them onto the bowl form. Repeat the steps until you achieve the thickness you want. Once the layers have dried, pop the balloon or remove the object to see the fruits of your labour. The featured bowl is decorative, not for microwaves, stoves, ovens, or moist or wet contents.
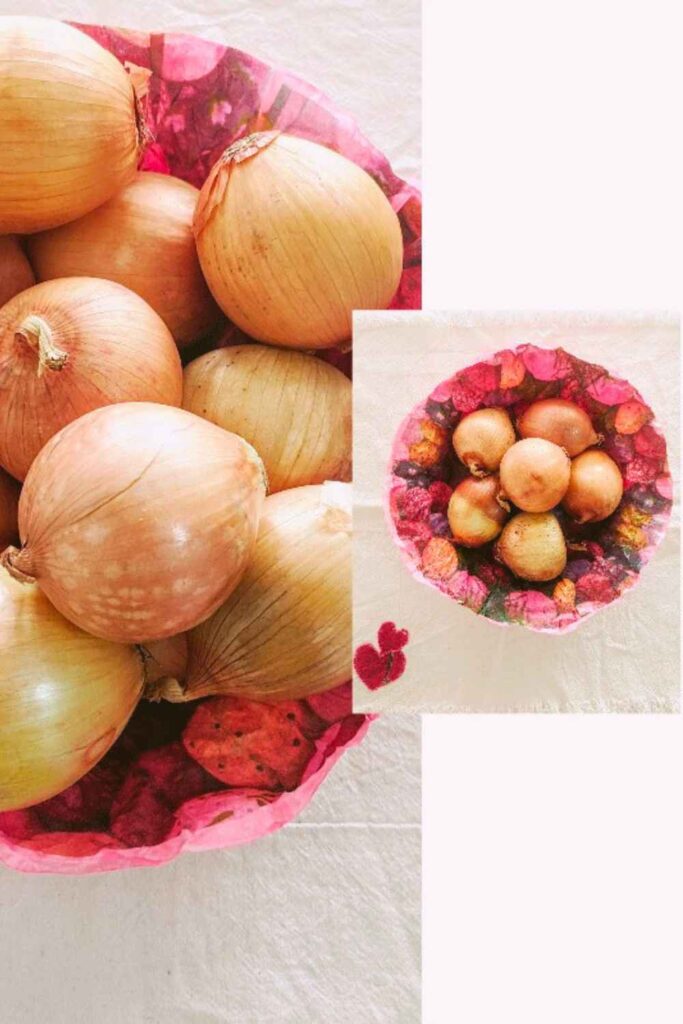
Paint bowls to match your taste, using them as a part of the decor at home, gatherings, or parties.
Another means of forming paper bowls is cutting, folding, rolling and gluing long narrow strips into coils of varying diameters. Bowls get their form by increasing paper coil sizes as you move from the base toward the outer edges. Your rolled paper bowl is ready for use once the glued coils are dry – it can take a few days.
Your Paper Bowl the Way You Want
Paper bowls can serve as adorning pieces or for practical use, holding minor items, including keys or jewelry. In addition, you can paint bowls to match your taste, using them as a part of the decor at home, gatherings, or parties. They are dialogue starters.
In summary, making a bowl from paper is a pleasing project that allows you to probe your imagination. Besides, it’s a fun craft, easy to achieve, and suitable for storage or various ornamental purposes. You can make containers with a wide range of papers; varieties may be in your kitchen. Look.
Possibilities are endless, whether you opt for paper mache, rolled paper, or other techniques. It’s your turn to choose supplies and create ornate paper bowls to impress or for utility. Want to make a paper bowl?
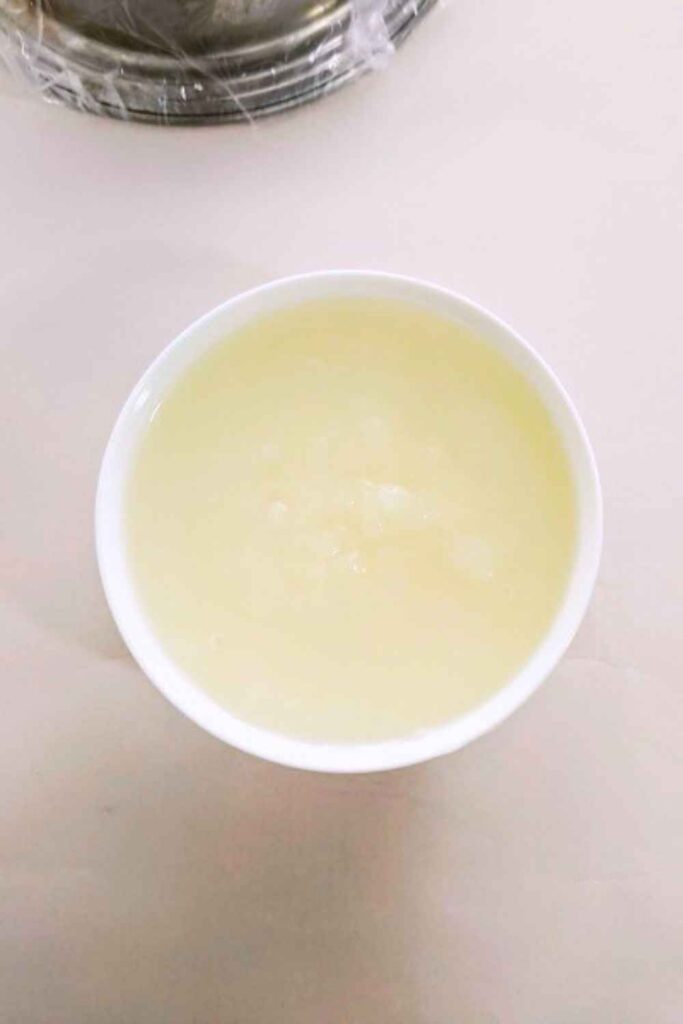
You can use the bowl for dry foods using filters and DIY glue; without paints. The paste I used has edible ingredients -water, cornstarch, corn syrup or sugar, and white vinegar, and making it equals bringing the elements to a boil on a stovetop. Alert: You can use your homemade glue it for making paper flowers too. Below are step-by-step instructions.
What You Will Need
- Round coffee filters
- Cling wrap or plastic bag
- Water
- DIY cornstarch, white glue, or Modge Podge
- Paintbrush – bristle or foam
- A bowl or container to use as a mould
- A flat work surface covered with plastic
- Gloves – if working with dyed coffee filters
Colour Your Bowl with Paper
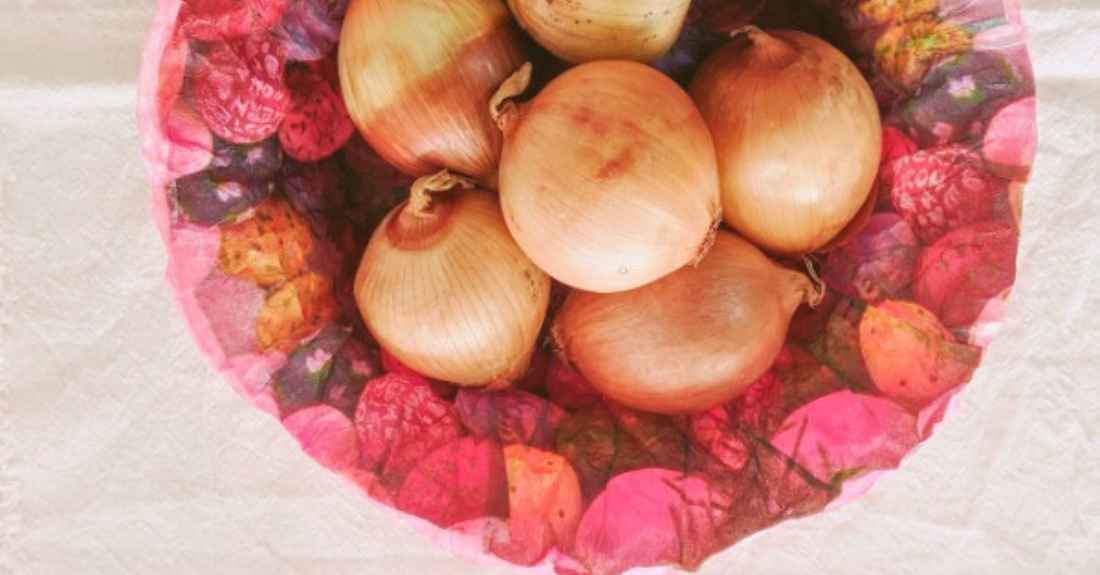
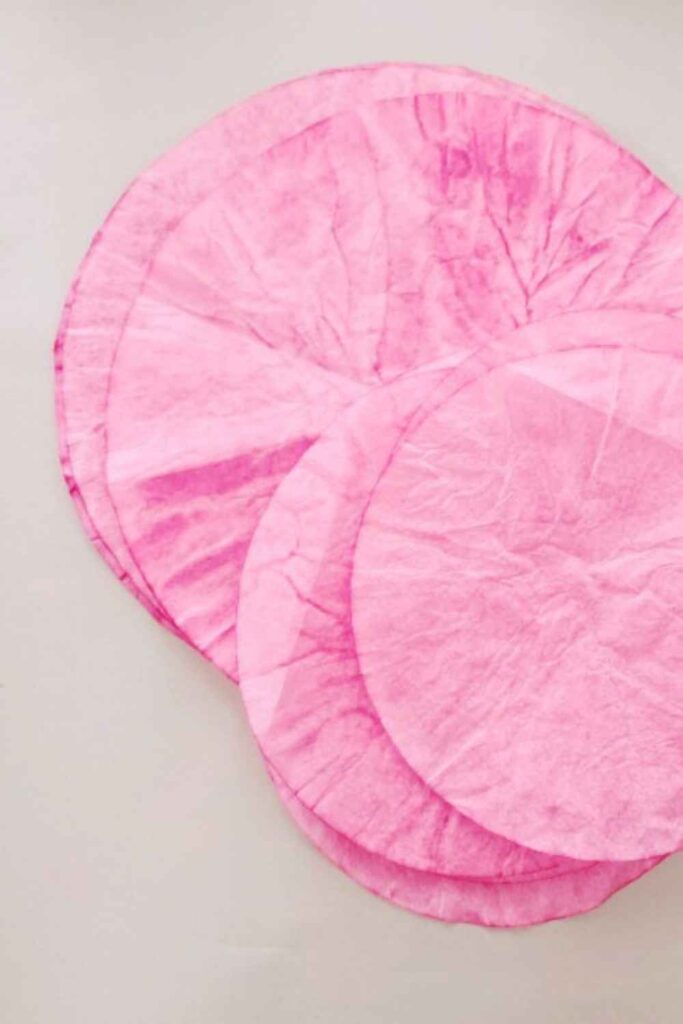
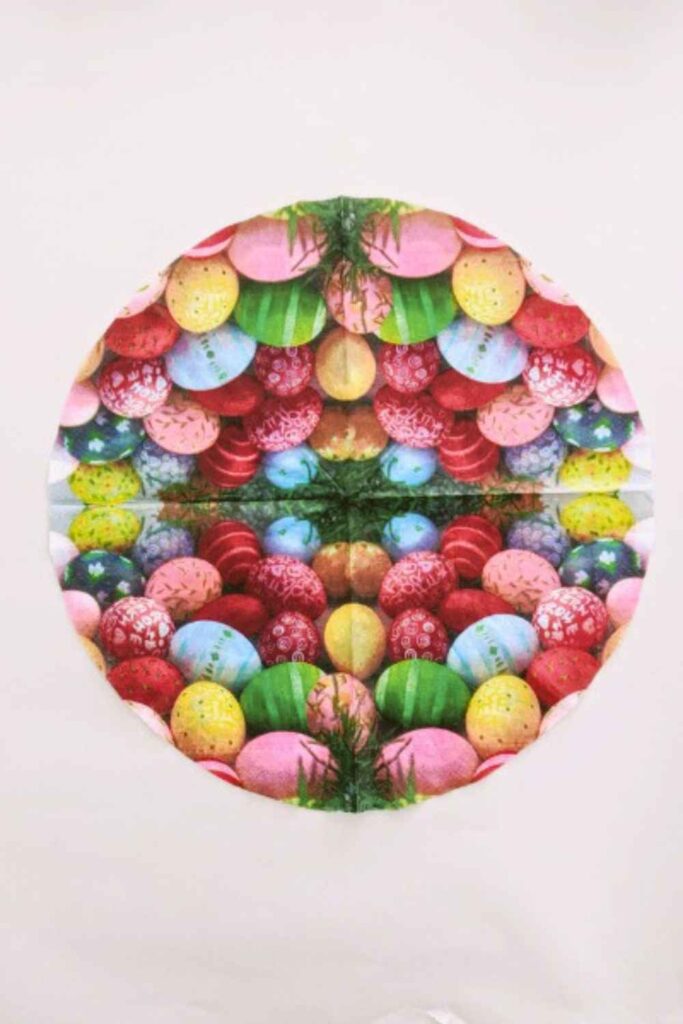
In addition, you may colour your bowl any way you want, but remember how you plan to use it. For refreshments containers, add hues to your paper with food colouring or DIY vegetable dyes that don’t include inedible substances. Besides, you can use colourful paper napkins, as seen above, to add patterns to the inside of your bowl.
Caution: Paper serviettes aren’t resilient as filters. The paper can break. In that bargain, you’ll need to handle them with care. If napkins tear, it’s not the end of the world. At most, hues from added layers will show through if colours vary. Further, you may wait until your paper bowl dries to decoupage it as you wish. DIY pastes and Mod Podge work. You choose.
Make a Paper Bowl
- First, prepare your work surface. Covering it with a plastic layer as a large garbage bag will do.
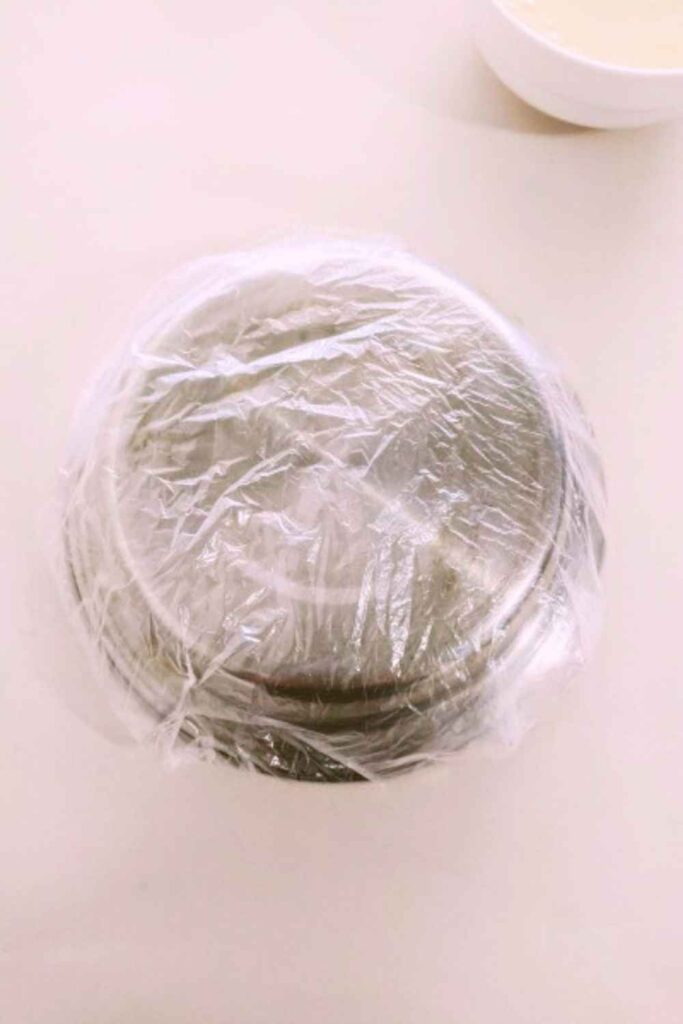
- Next, cover the container you’ll use as the mould for your paper bowl with plastic cling wrap, and set the rim on a flat surface.
- Moisten a filter and place it on the plastic-covered mould.
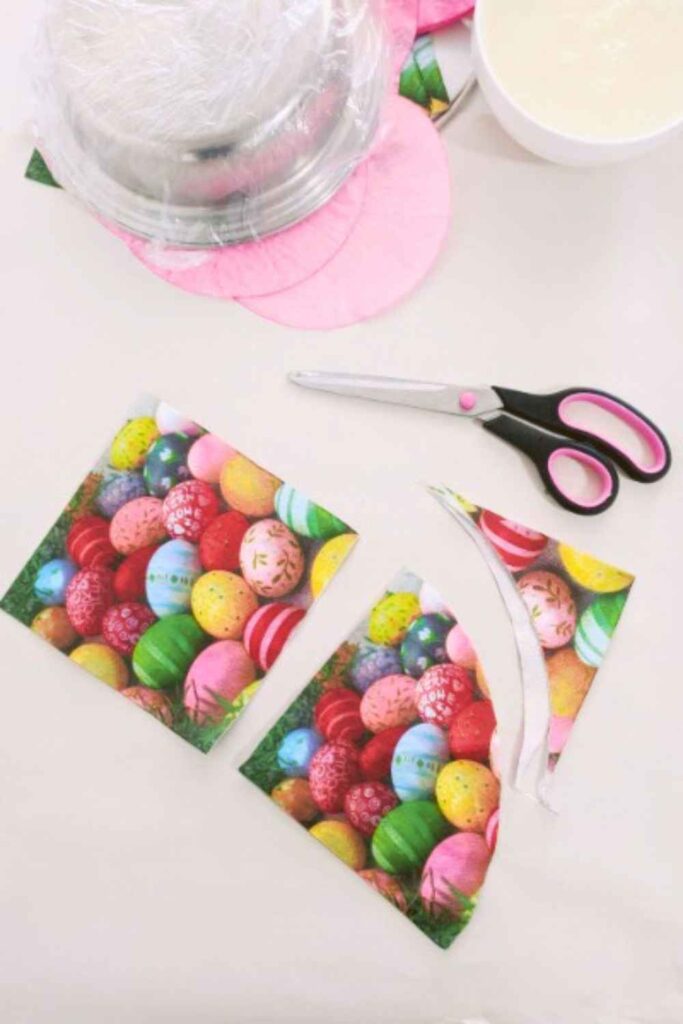
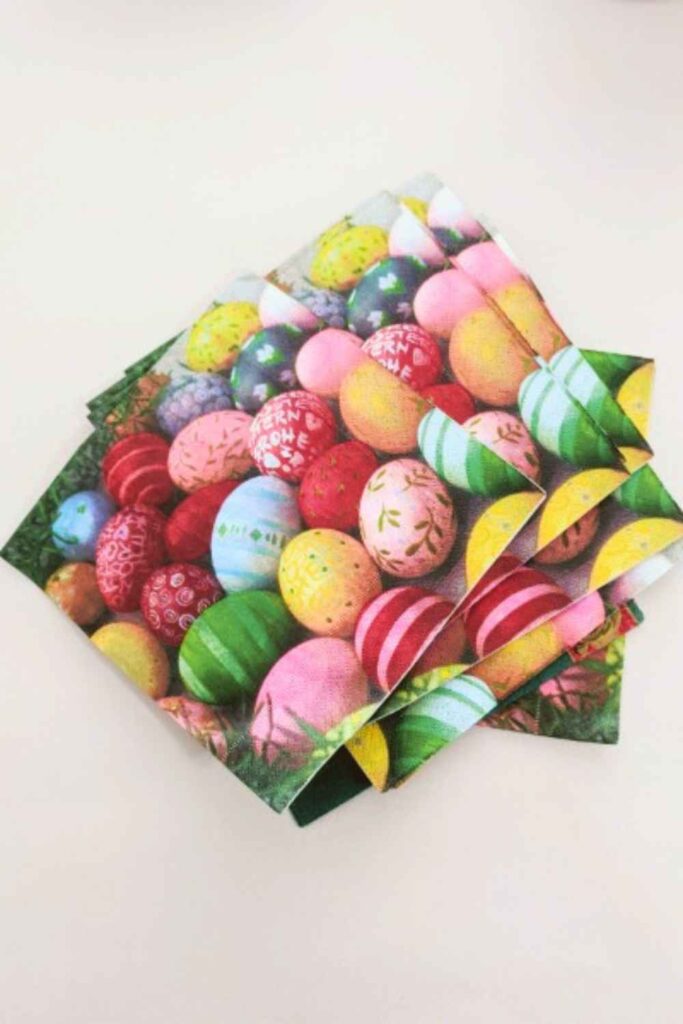
- If using paper napkins, choose sturdy styles, and cut them the same size and shape as the filters, avoiding wetting them.
- With right side up, coat the serviette with glue – don’t soak.
- Centre or offset discs to create shapes you want, and be careful when placing it on the mould, using a gentle hand to avoid the paper tearing.
The first layer will be the inside of your bowl; it’s the best time to make adjustments.
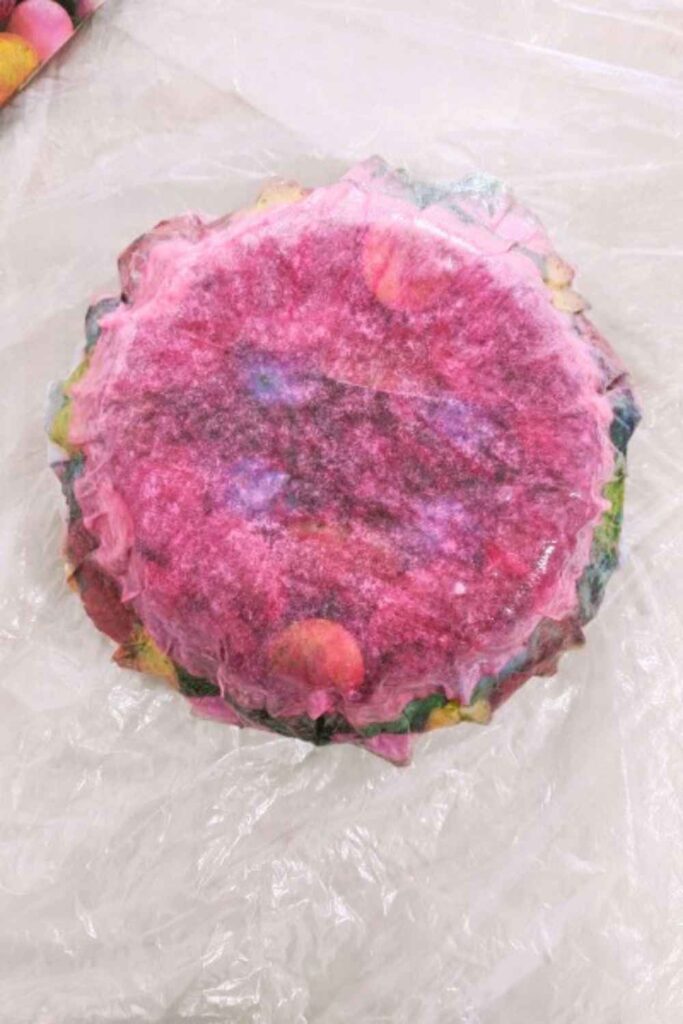
- Cover another coffee filter with glue, and place it onto the first layer on the mould.
- Continue to add filters. More layers of paper will create a thicker, sturdier bowl, and it will take longer to dry.
- Keep layering and gluing the paper discs until the thickness of the bowl pleases you. Allow it to dry in an airy location, away from the heat. Uneven drying can warp the bowl’s shape.
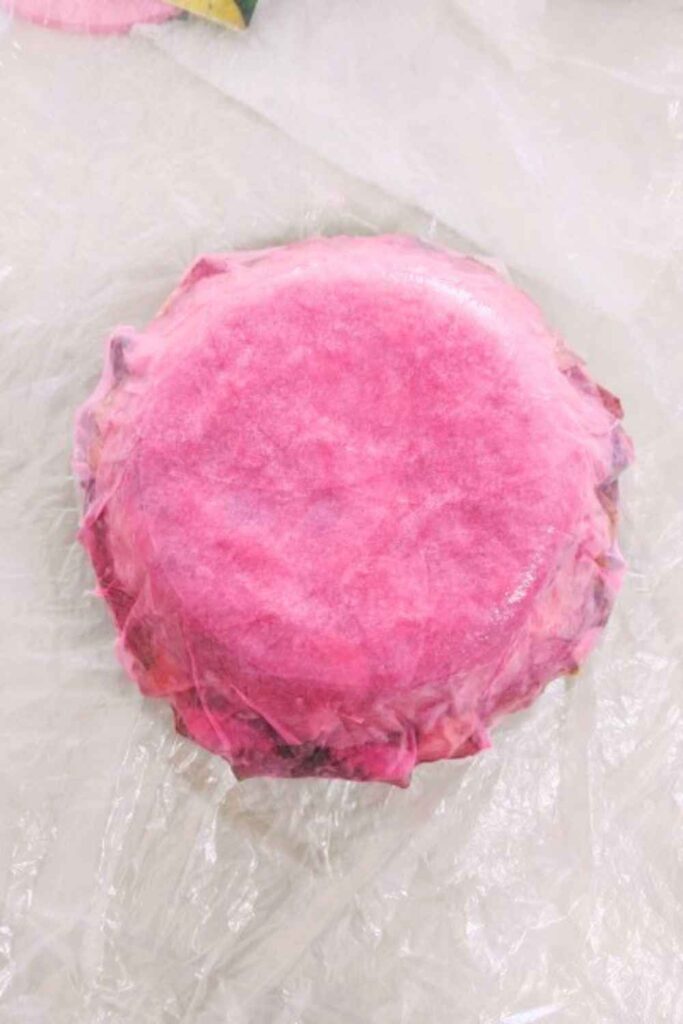
Finished Bowl
Remember, more layers or a thicker bowl will take longer to dry, but within 48 hours, your project will be relatively complete. Now, it’s your turn to reach for your favourite paper and make the most fabulous bowl that comes to mind.
Thank you for taking the time to visit.
May mercy, peace, and love be multiplied to you.