
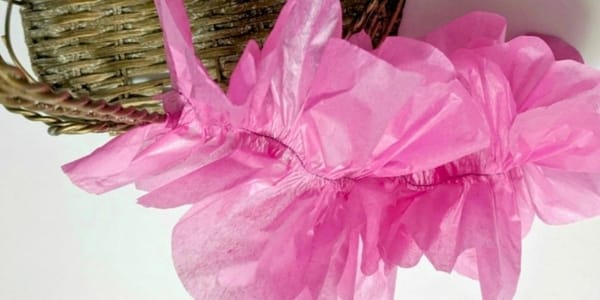
Paper Ruffles Open Up a World of Creative Possibilities
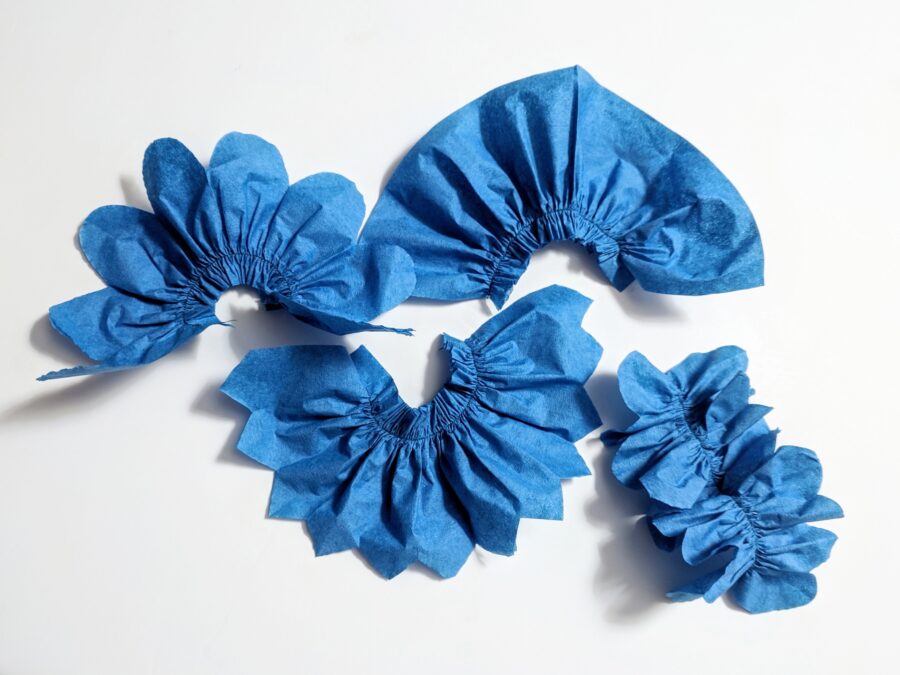
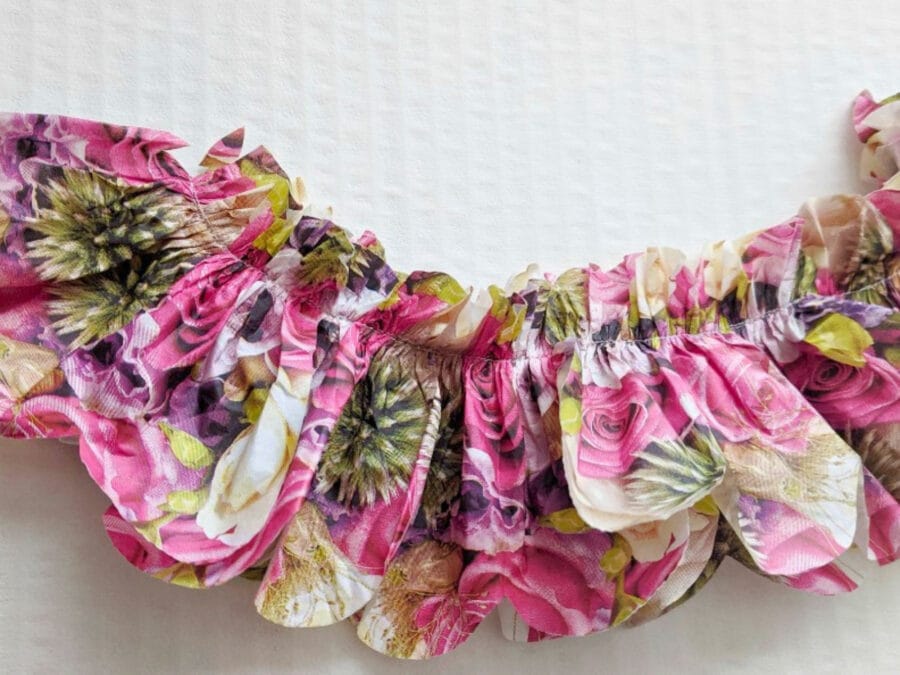
Knowing how to make ruffles with paper will change your creative perspective. A sewing machine delivers the quickest and most consistent results, and all the featured paper frills in this post came straight off one.
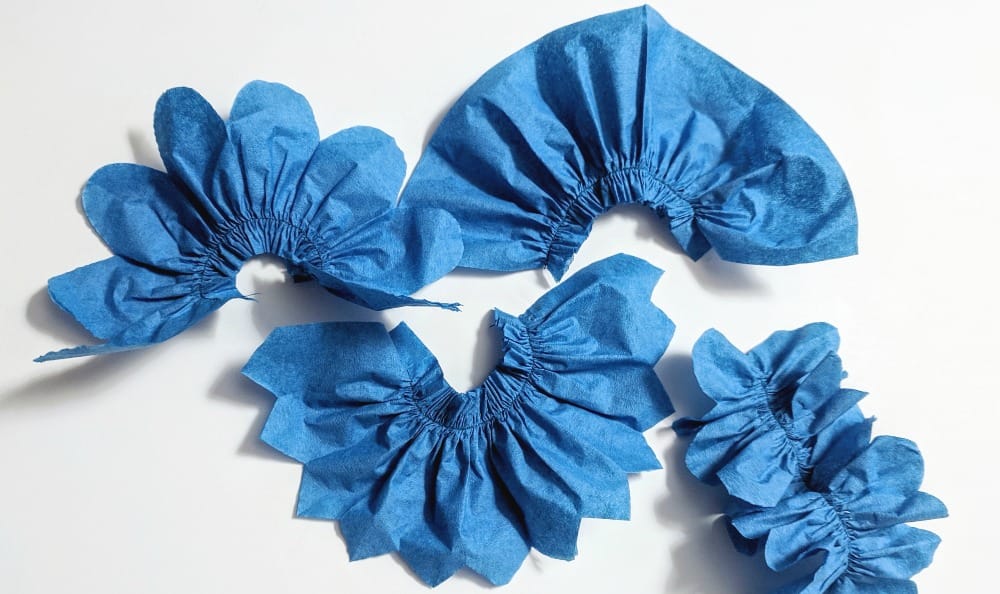
Paper selection matters, and the right choice depends on two things: the weight of the material and how your sewing machine responds to it. Folded napkins, tissue paper, and pre-cut strips on rolls – such as crepe paper streamers – all work well.
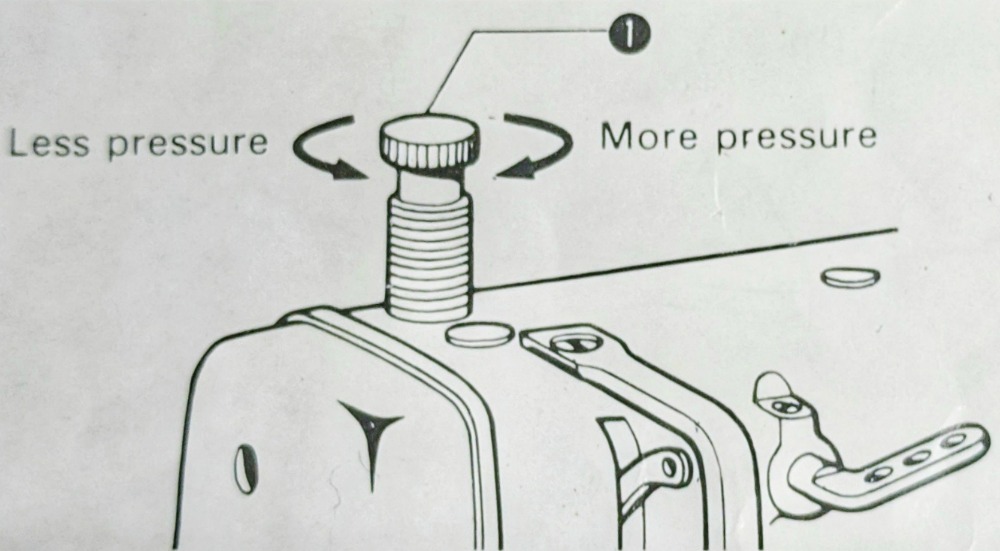
A pressure regulating screw on your machine allows for adjustment to suit different materials. With textiles, that screw keeps the work from slipping under the presser foot. With paper, reducing the pressure helps prevent rips along the stitch lines. Experimenting with a few test strips before starting a project gives you a clear picture of what each paper type can do.
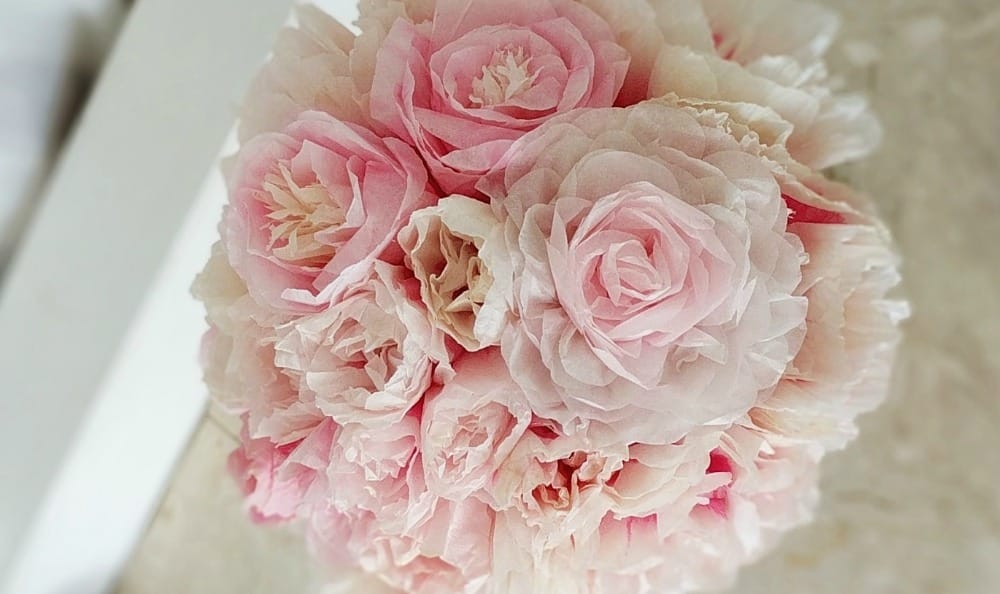
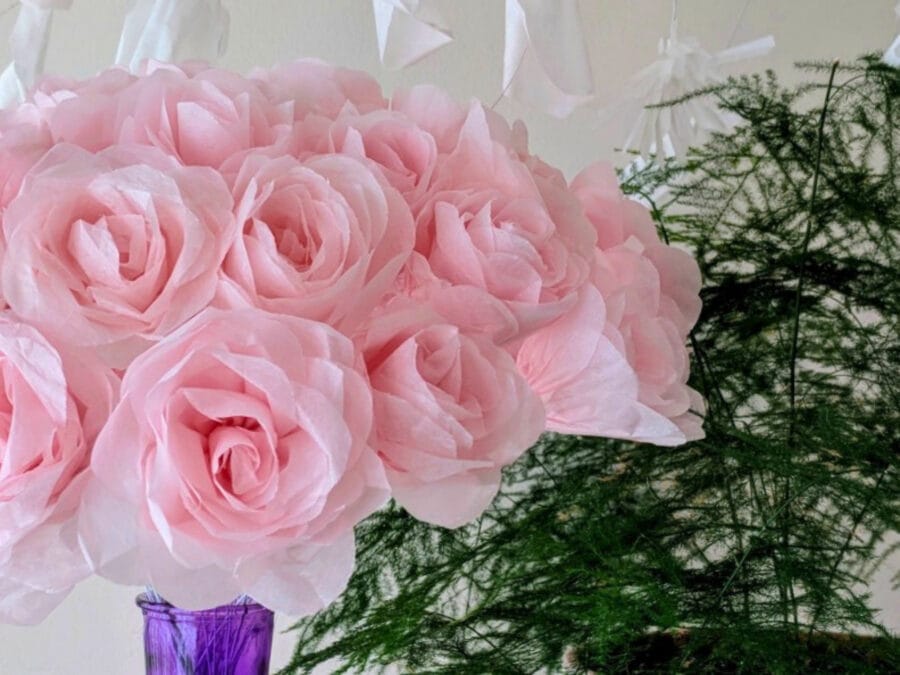
Use Paper Ruffles to Make Roses and Other Flowers
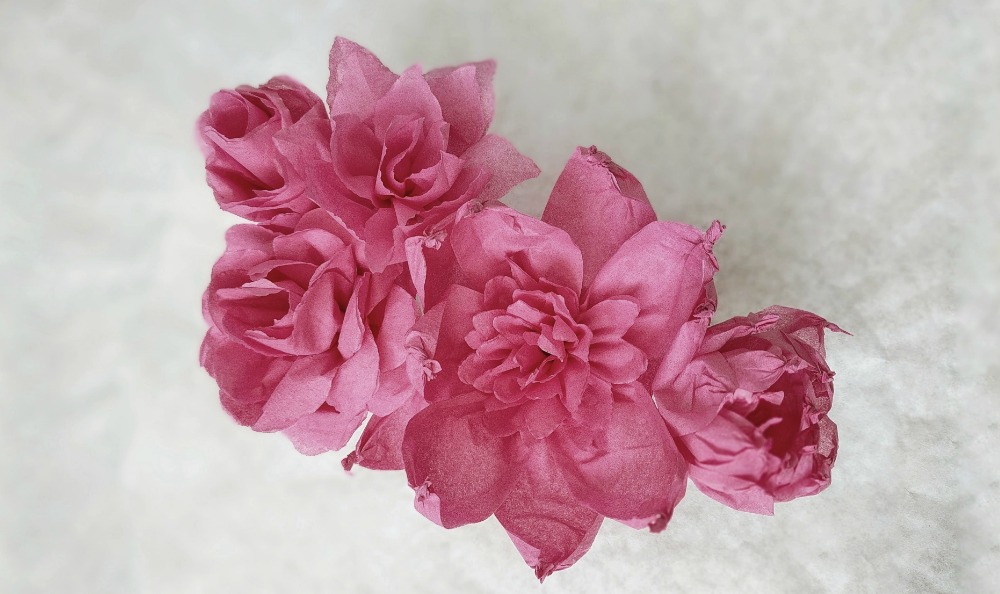
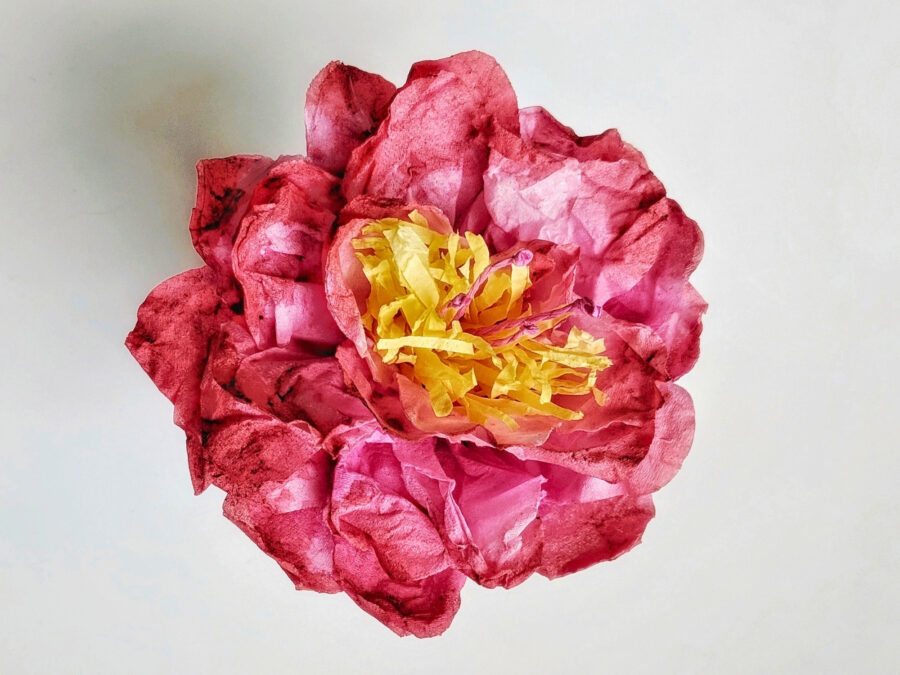
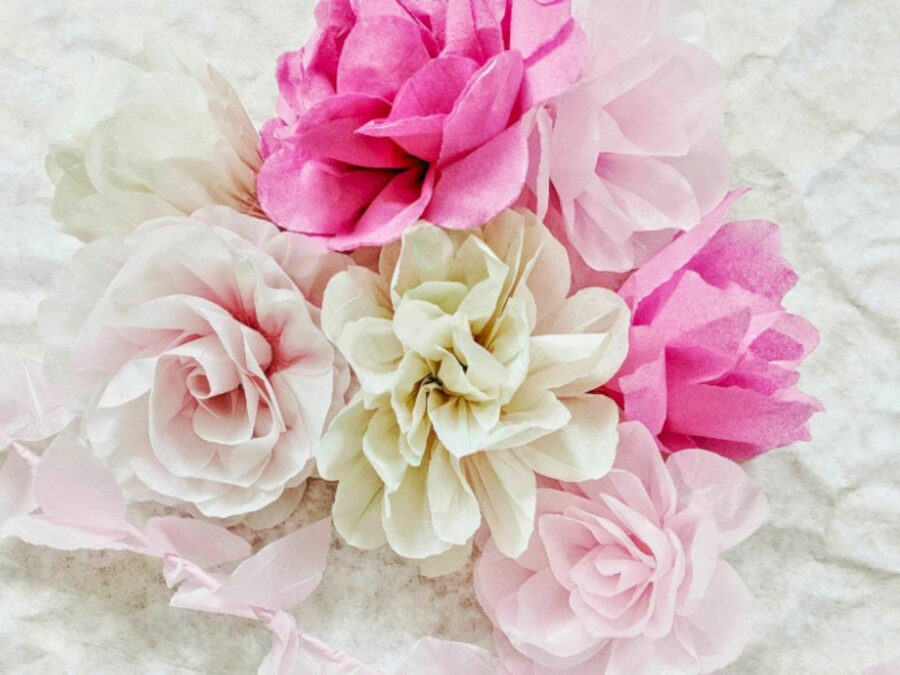
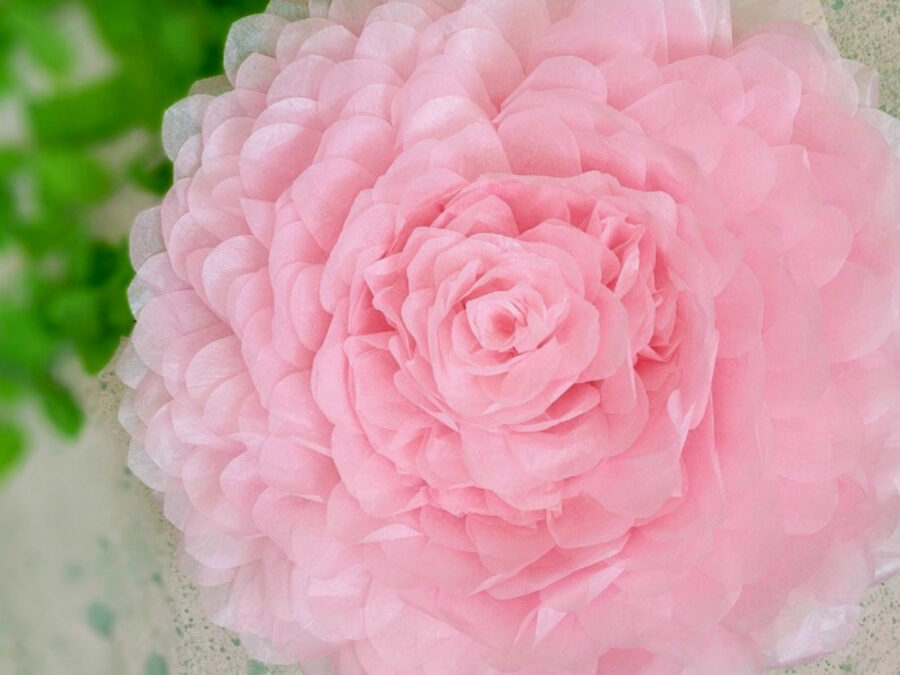
Learning to make paper ruffles accelerates every paper project you take on. Tissue paper roses and other flowers come together much faster once ruffling becomes second nature.
A shirring or gathering foot makes the process even quicker. Some models are adjustable, giving you control over fullness. For those who do not yet own this accessory, a regular presser foot still produces great ruffles – the difference is that you create the gathers by manipulating the threads yourself.
The Basic Ruffle Method
This approach works by loosening the upper thread tension on the sewing machine, stitching the strip, then pulling the bobbin thread to create gathers. The method performs especially well on denser paper weights.
A Teflon foot also makes a helpful addition here – it glides over paper more smoothly than a standard presser foot, and you can guide gathers with your fingers as you sew.
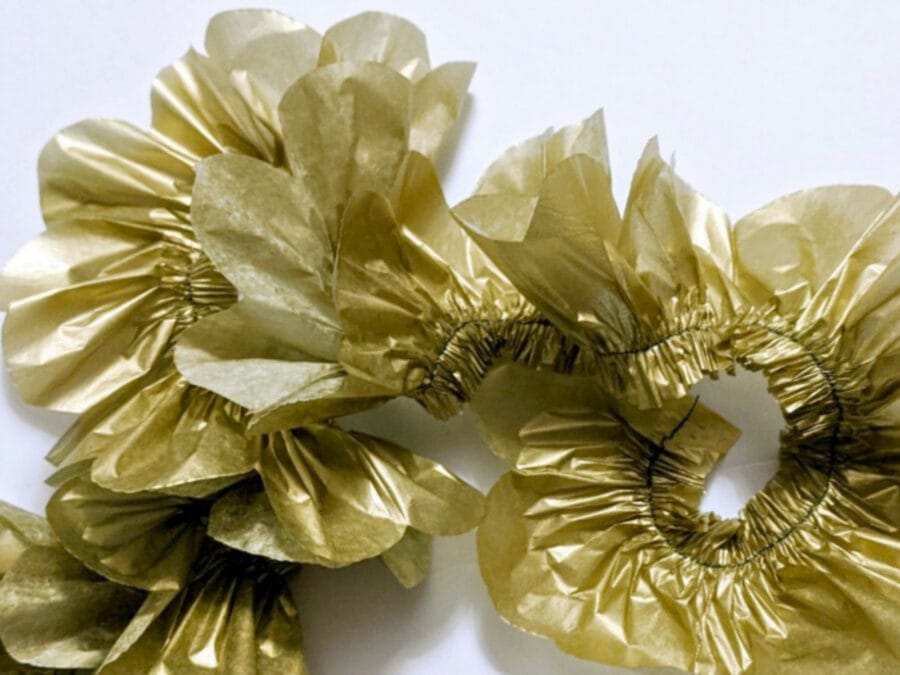
To get started, decide on your finished dimensions and cut strips accordingly. Single-edged ruffles require a seam allowance added to the finished width. Raise the presser foot, position the paper as you would fabric, and stitch the first inch or two. Check that section for rips before continuing, and adjust pressure, tension, and stitch length as needed.
Tip
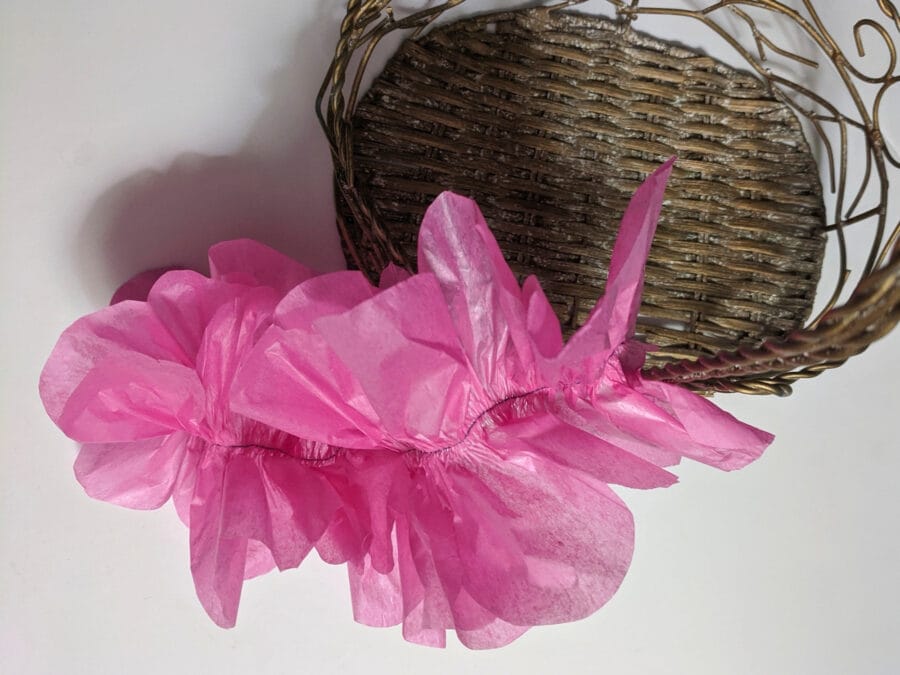
Paper behaves differently from fabric – it tends to drift off a straight path, which creates an uneven seam allowance. Guiding the strip firmly with both hands keeps stitches straight and ruffle width consistent. A little practice makes this feel natural quickly.
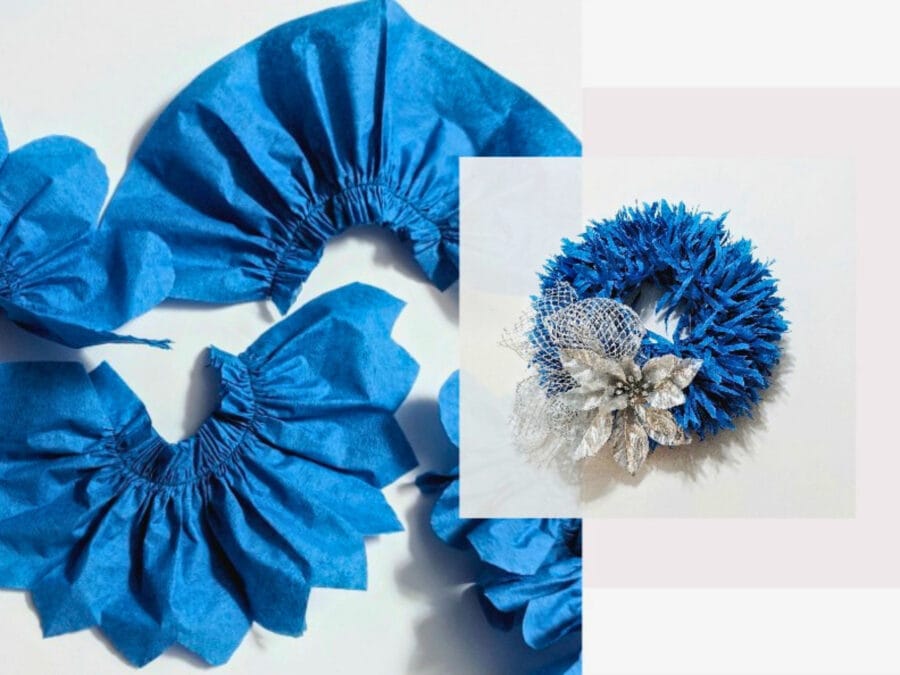
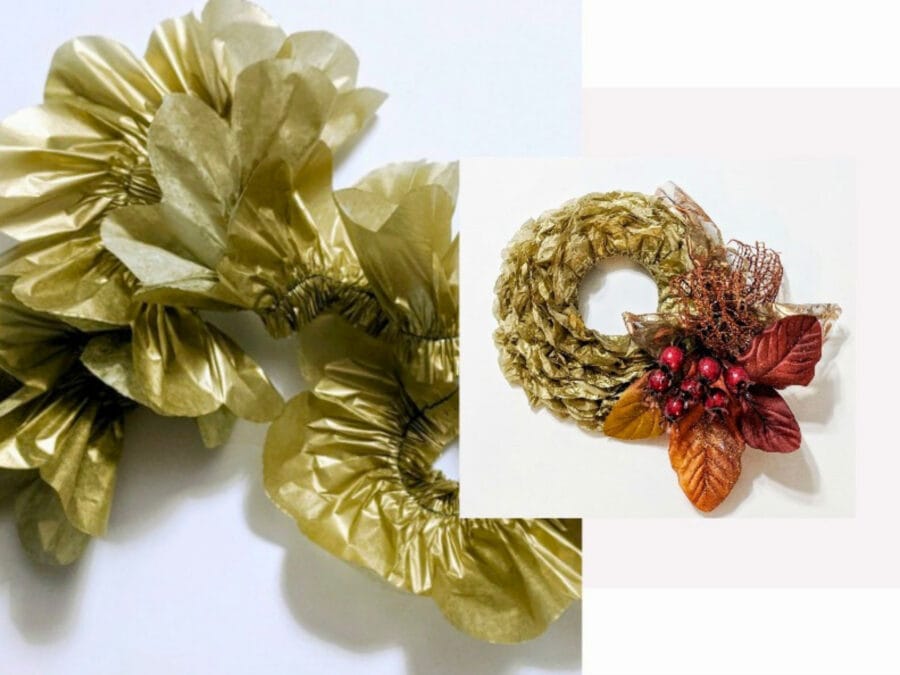
Paper ruffles work beautifully on seasonal wreaths, everyday decor, gift wrapping, and so much more. Pick up some strips and start experimenting – the results will surprise you.
As always thank you for dropping by.
If the Lord will, I’ll see you the next time you visit.