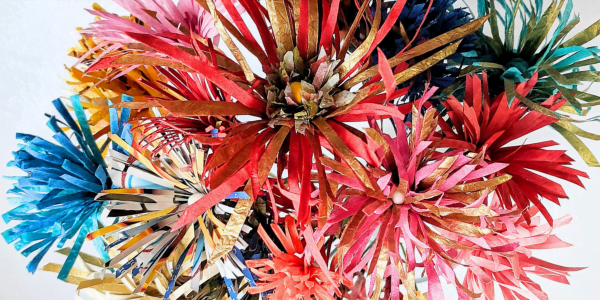
Crafting Paper Flower Centres Blooming with Creativity
Paper flower centres work as contrasts of extension, and if you haven’t heard the term before, it’s a design principle used in colour theory. Learn more at canva.com.
You may recall how the middle of flowers you’ve seen and adored drew your eyes. Often, there’s a delicateness. It’s common to see elegance and striking richness dividing the middle of a flower from its counterparts. Make it your goal.
Uncover the Artistry of Nature with Paper
Flower centres in nature or paper varieties are hard to miss, and the effects are the same whether they’re bold and beautiful or airy and delicate. Even with masses of flamboyant petals, they show. That’s the idea.
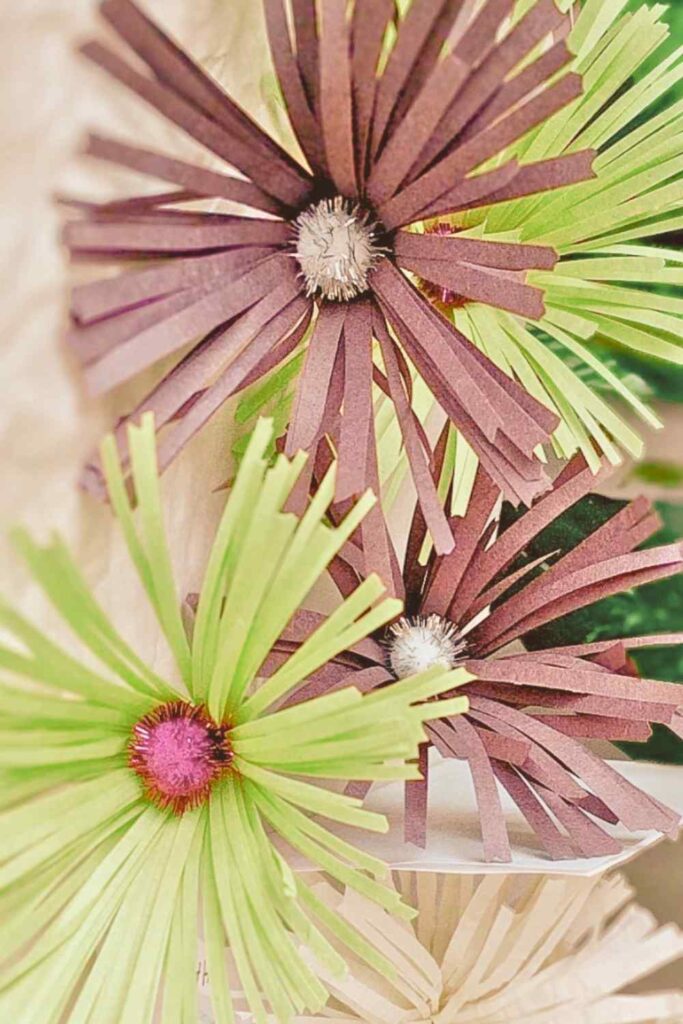
You can aim to clone the centres of any flower found in nature or land their essence with captivating paper designs you produce. There’s no need to deep-dive into colour theory. Get the gist of visual contrasts and how to form distinctions between flower centres and petals.
Explore – heed your creativity with artistic style, using texture and colours in your crafts.
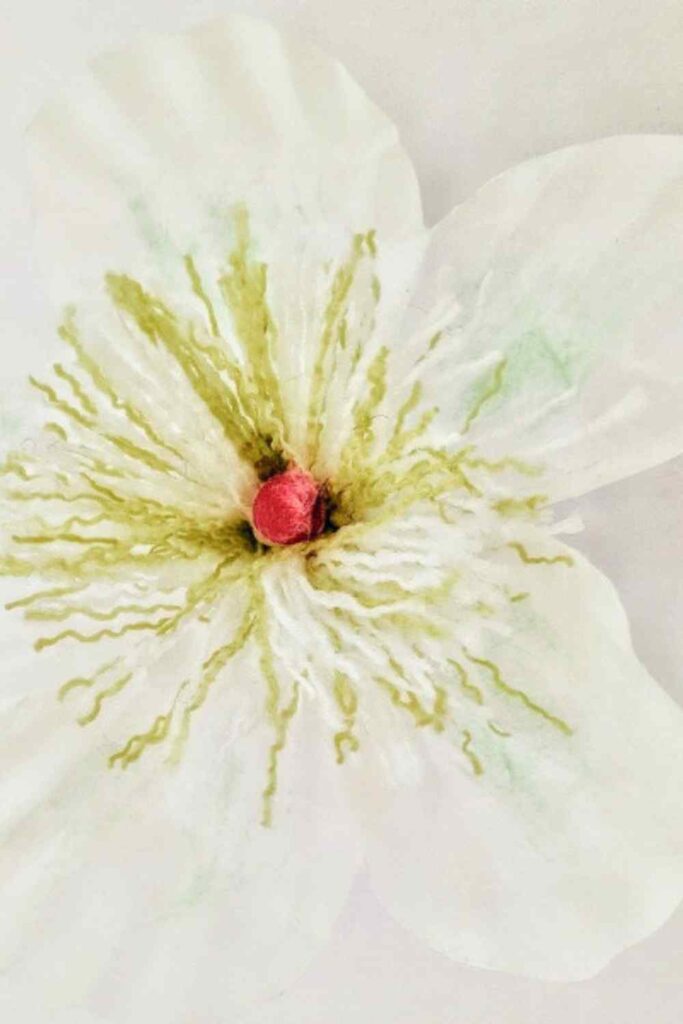
Centre on Creating Contrasts
Further, you can get results apart from pigment, including shapes, sizes, and papers of varied weights. The goal is to use materials to create focal points in patterns and hues, adding depth to your paper flower centres. It’ll enhance the charm and allure of your floral compositions.
Try several methods and supplies to perfect your paper flower centres. In bonus, explore – heed your creativity with artistic style, using texture and colours in your crafts, applying the principle to your paper leaves as well.
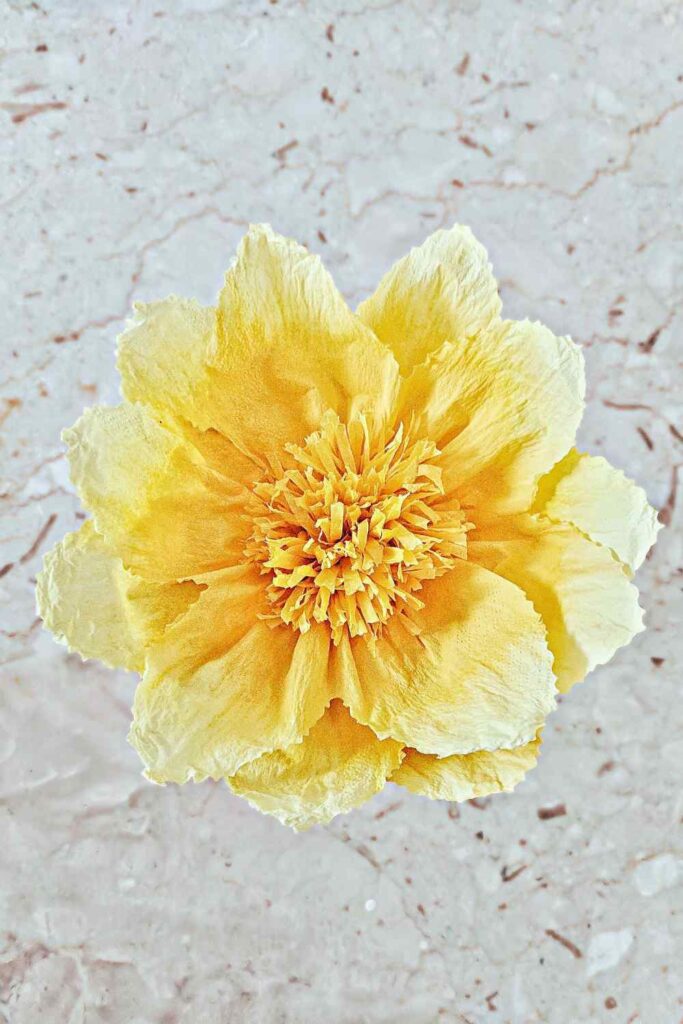
Creativity When Resources are Scarce
Life happens. Imagine you plan on making centres for an event, and the project excites you, but you learn the materials you need aren’t in stock. What next? Rise to the challenge with your imagination in tow, understanding the reasons creativity is important in making your paper flowers.
You’ll learn lessons helpful for the next time a setback shows; we can’t escape them. On that account, search for alternative materials to suit your projects, and through trial and error, pursue your goal.
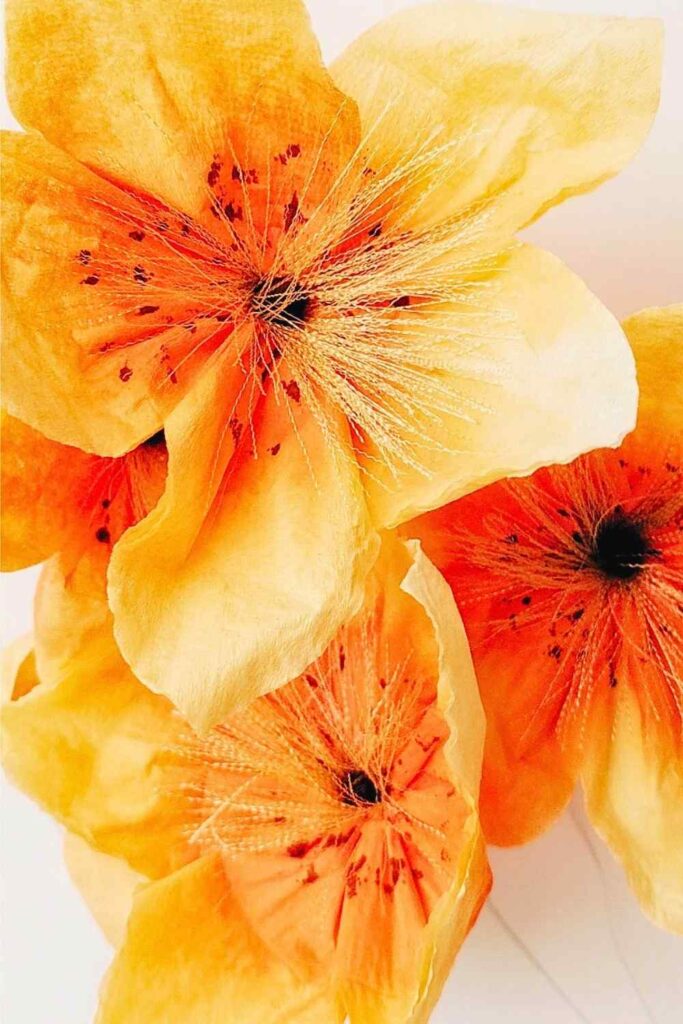
Sub the Supplies and Triumph
Use resourcefulness. Besides, don’t overlook unusual or utility products, but aim to keep the quality you set at the start of your project. Your resolve will help you devise ways to recast fill-in supplies into gorgeous paper flower centres.
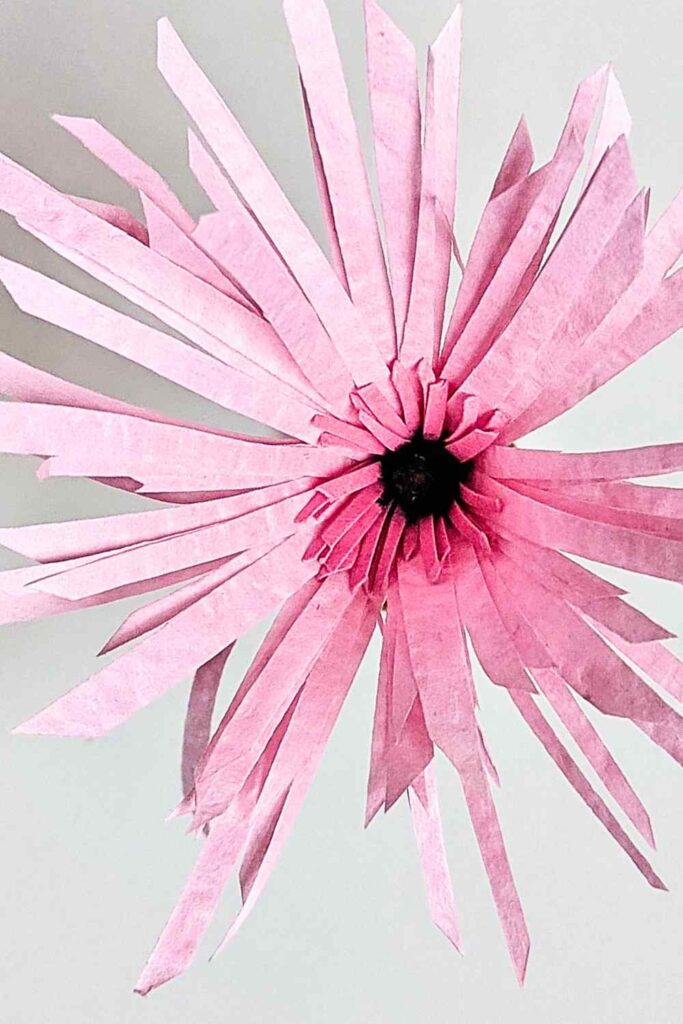
I promise you this. Revived excitement will crush the pressures you felt during project delays. It’s a by-product of seeing the results of your triumphs using unfamiliar materials. Besides, surprise features in your paper flower centres will bloom into dialogue starters.
In the meantime, get inspiration from varied sources. Appeal to your passion, continue your artistic quest and find new ideas for your paper flower centres. Start simple and thrive.
It’s Your Turn
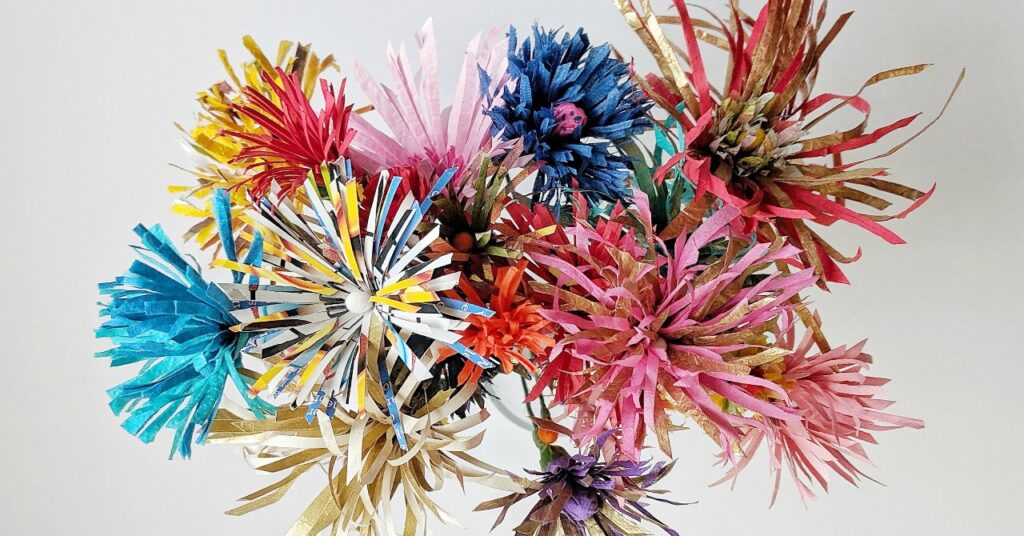
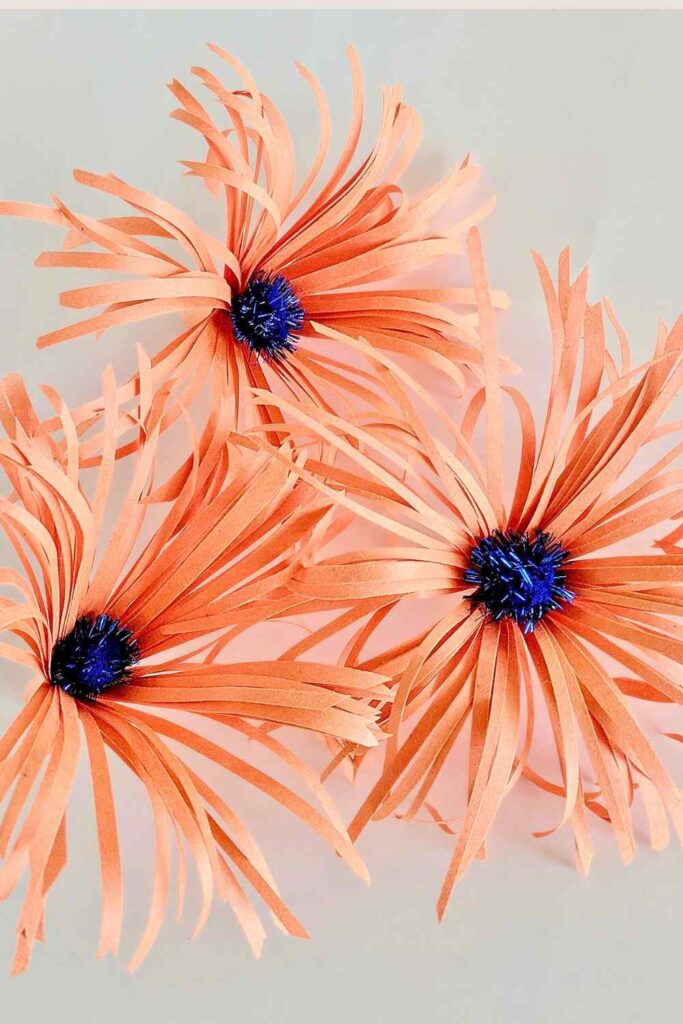
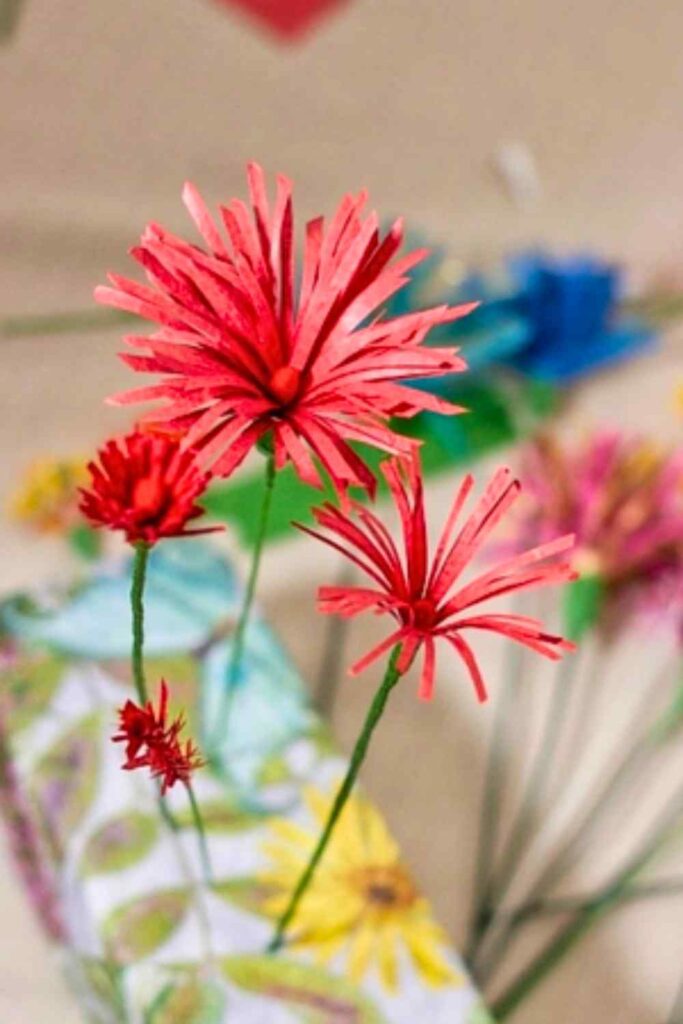
To simplify your journey, start with fringed paper flower centres – as highlighted on the page. Follow where your creativity leads. I never run out of ideas when viewing them as smaller blooms.
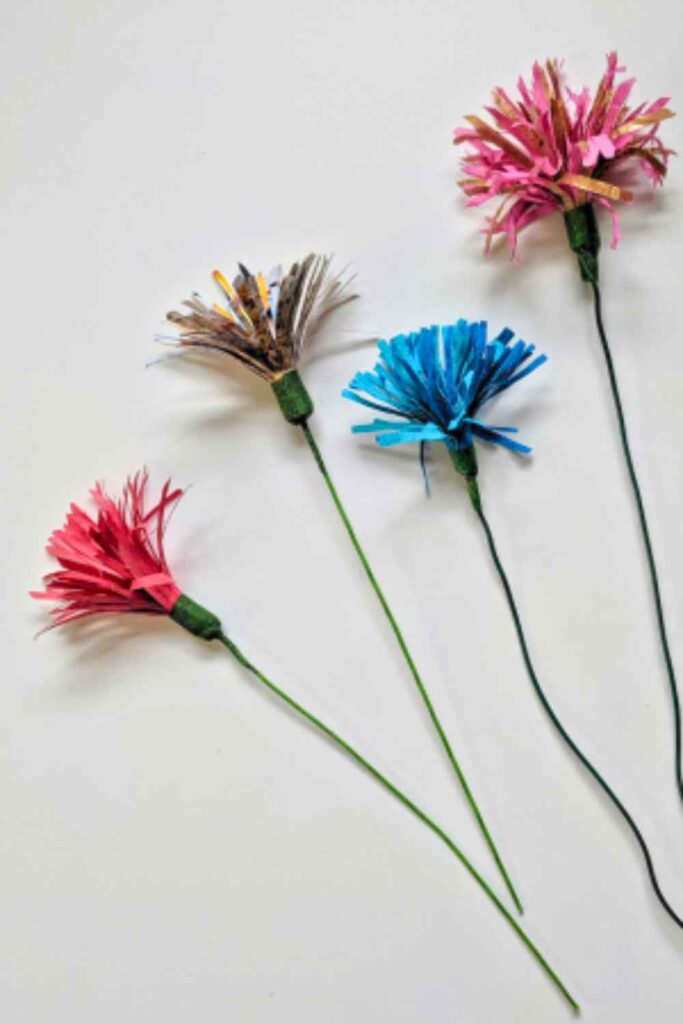
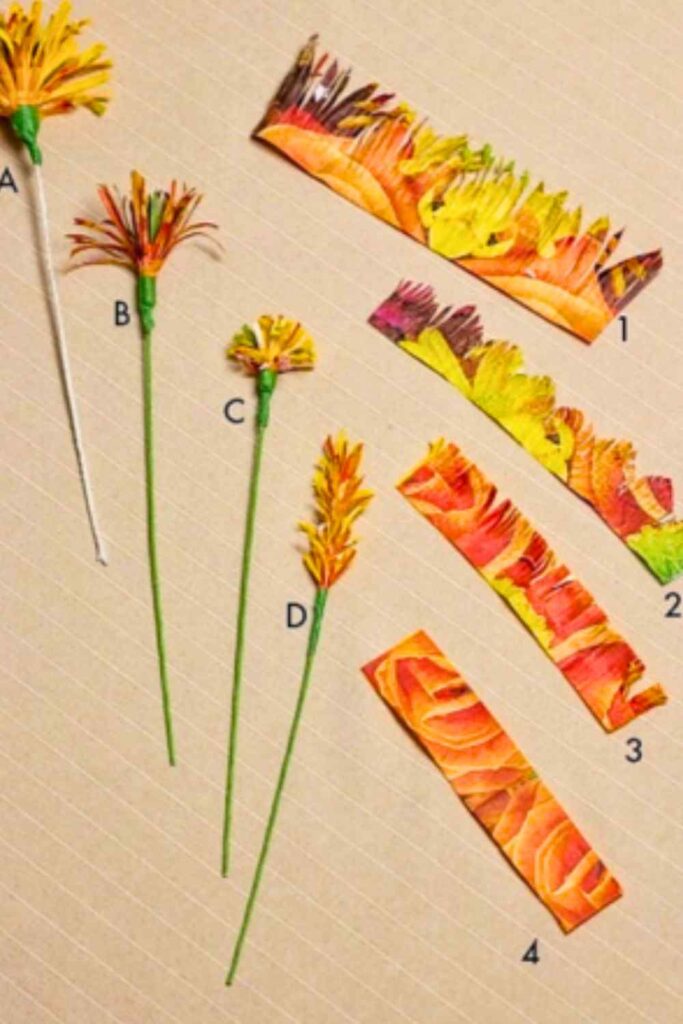
In the examples below, I’ve provided details on creating multiple paper flower centers with a regular fringe.
No-Template and Great Paper Flower Centres
Featured centres can work as individual paper blooms or use them in the middle of other varieties, including coffee filter flowers.
For now, let’s label them centres. Their sizes range between 1 and 5 inches in diameter and follow the same guidelines. Recalling how flowers draw our attention to nature, let’s borrow from them.
What You Need to Make Paper Flower Centres
Materials
- Hollow cotton swabs
- Assorted papers: Napkins, tissue, Construction, other
- Wire stems
- Floral or other tape
- Hot glue gun and hot glue sticks; glue sticks craft glue
- Scissors
- Fringing shears (Optional)
- Edge scissors (Optional)
Choose glue, having researched suitability to materials. Soft papers, including tissue and napkins, need gluing agents that won’t weaken their form, and sturdy, thick sorts ask for stronger glue for a firm hold.
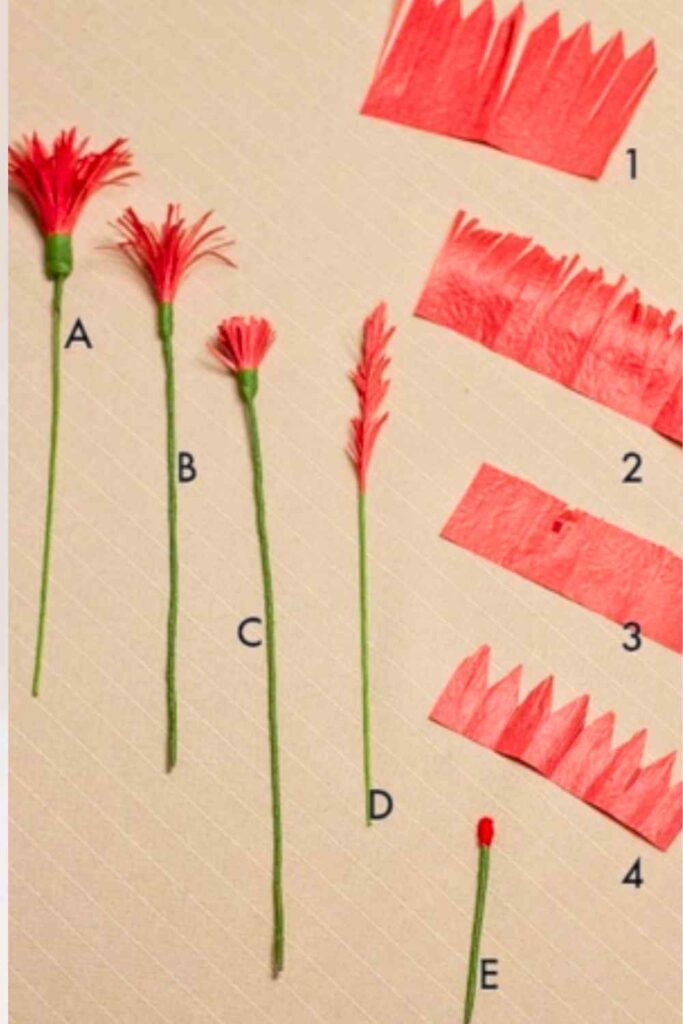
How Paper Varieties Affect Centres Design
You’ll notice varied papers create unlike results even when using the same technique. Weight, texture, and firmness in qualities keep a vertical structured form. On the opposing end, softer papers curl or droop, often having an untamed show. It’s especially so if fringes are longer.
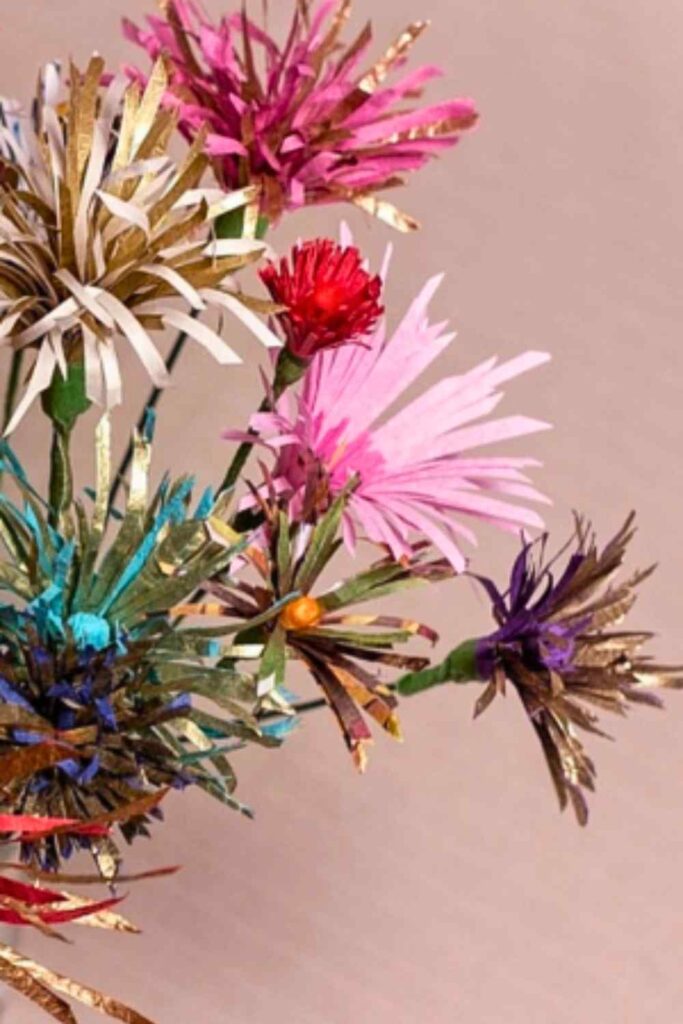
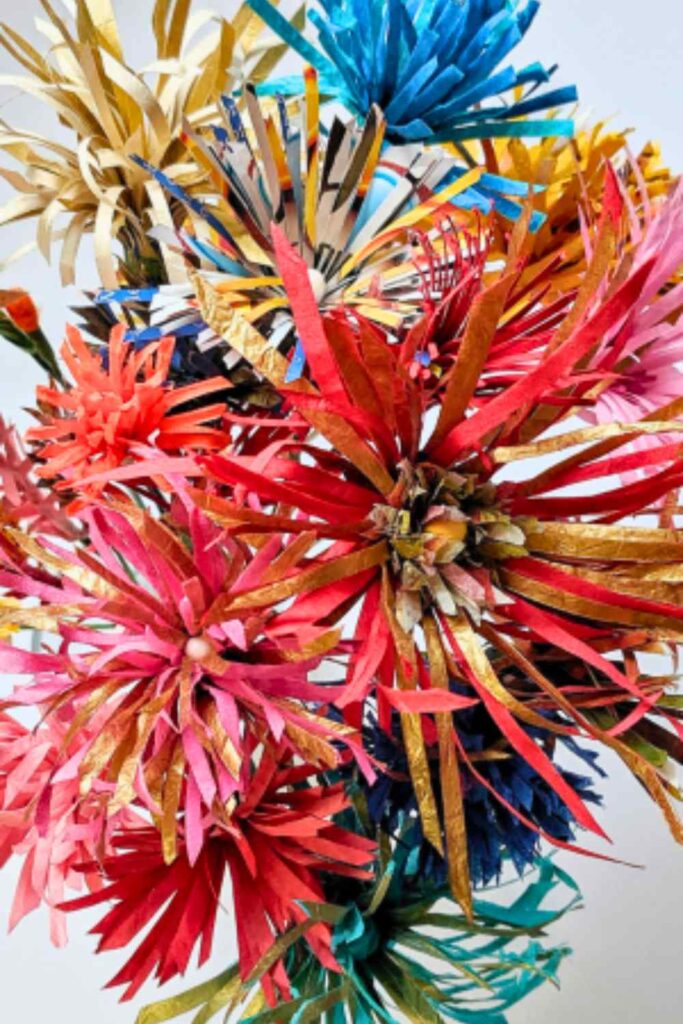
In the photo above, centres bear the same size and style of fringe but notice the varying visual weight, and several have a wider spread.
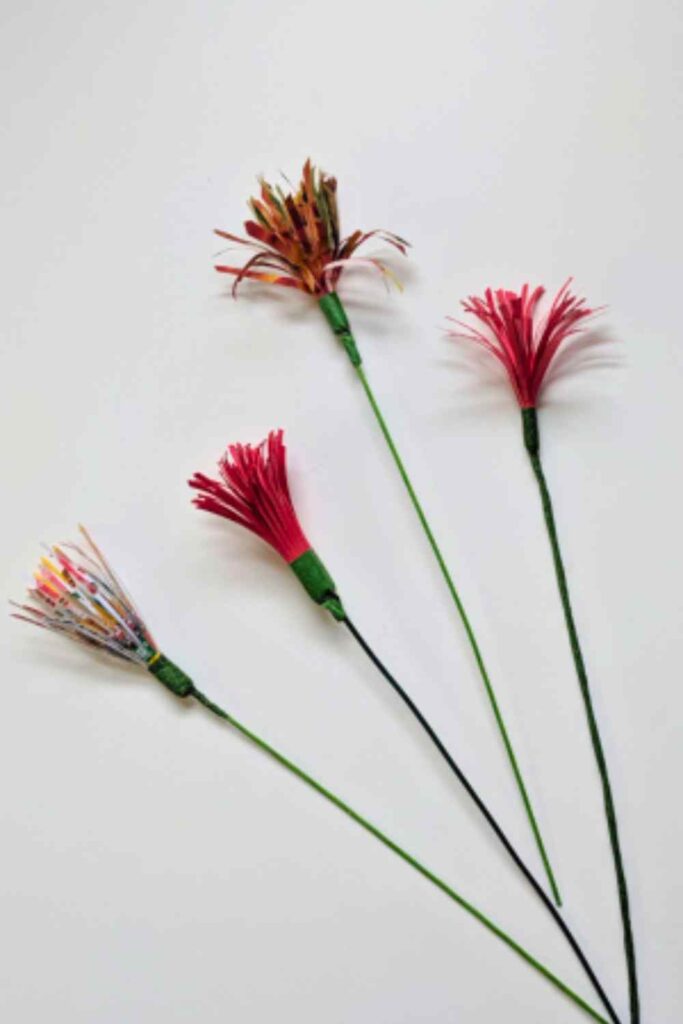
To make the centres above, I used lightweight red paper, glossy flyers, layers of 2-ply tissue, fuchsia napkins of the same sort, and gold tissue paper.
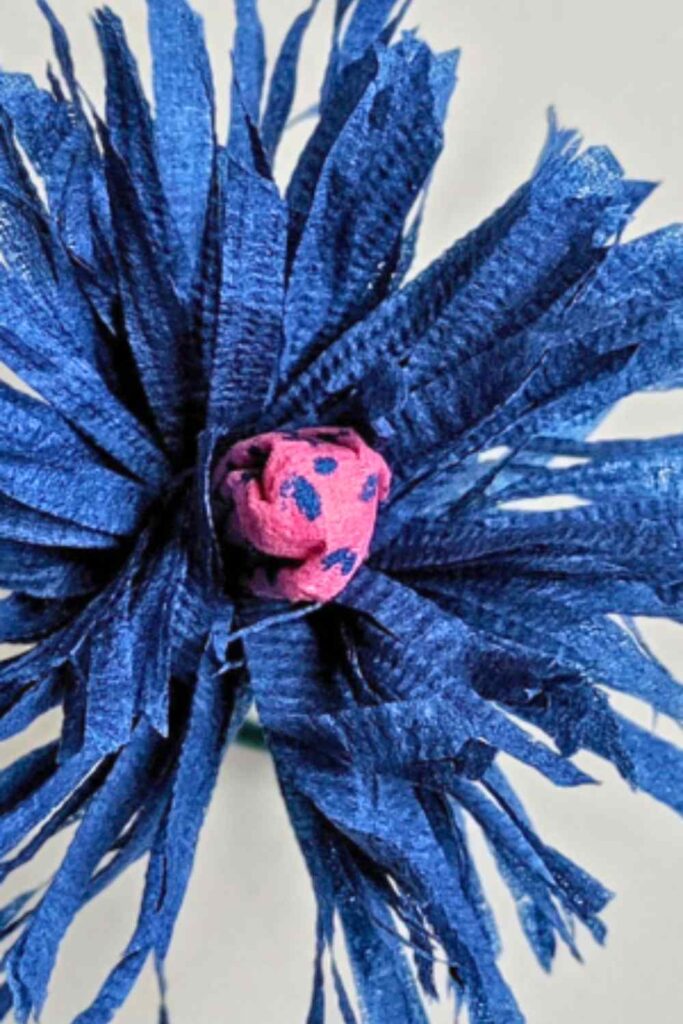
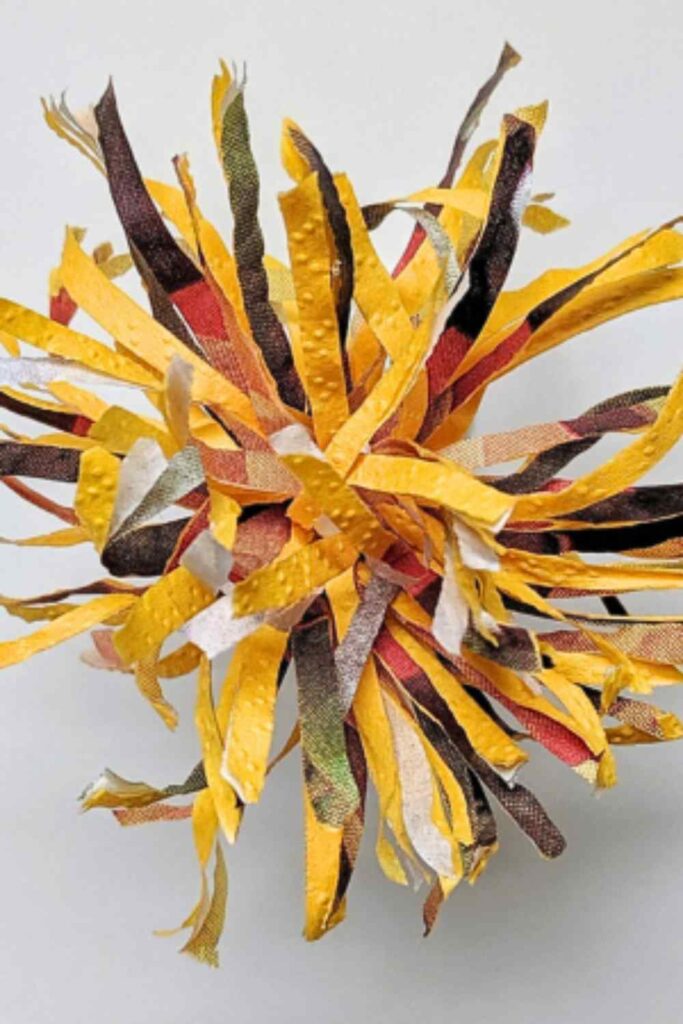
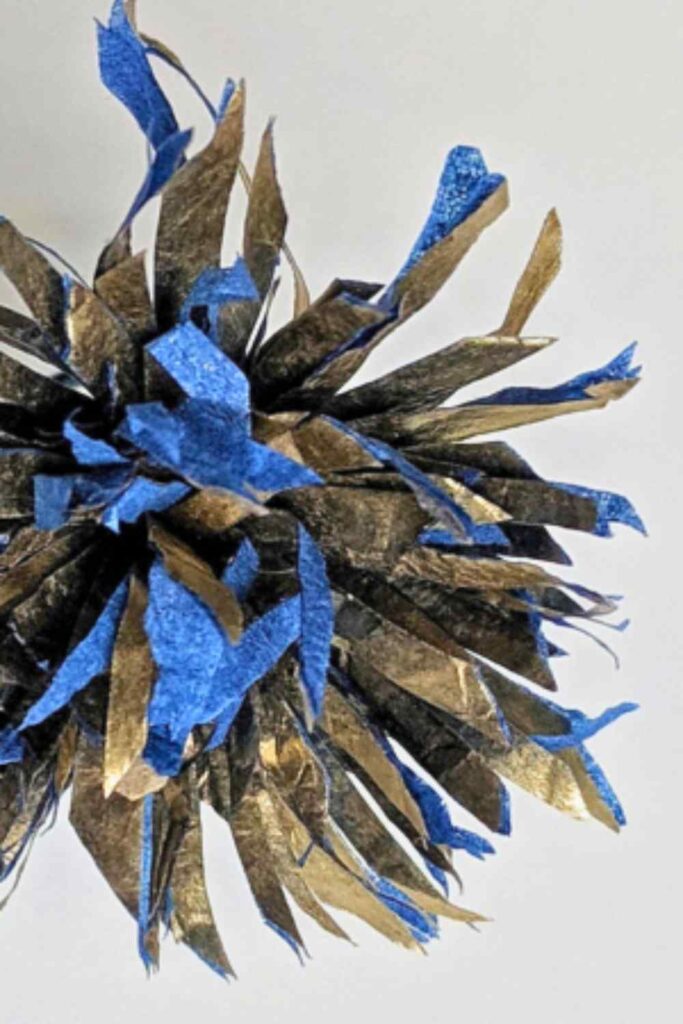
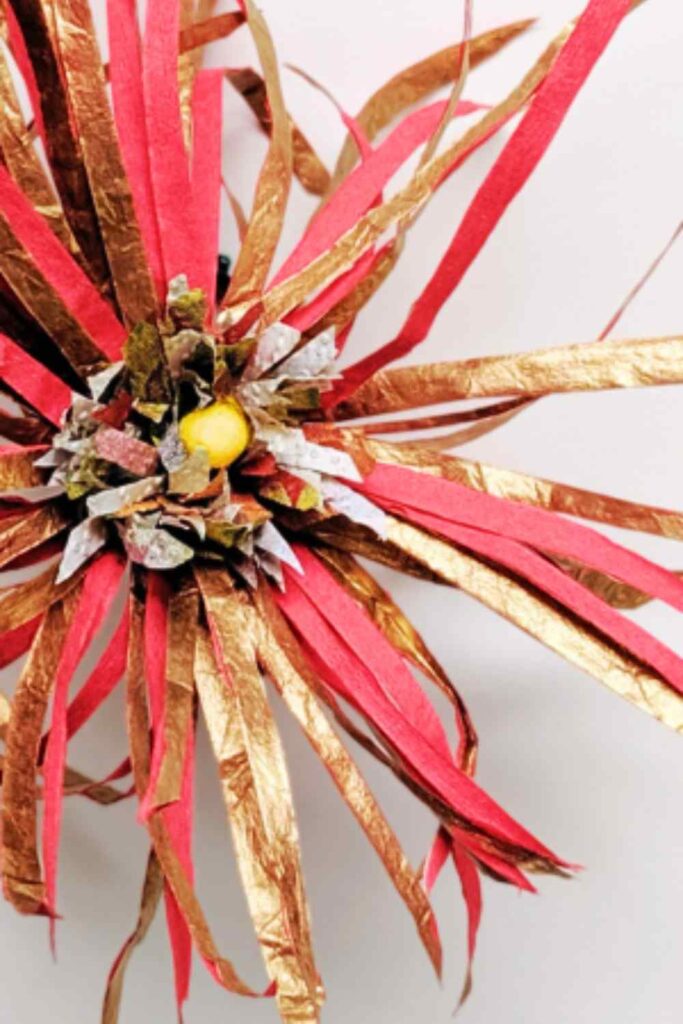
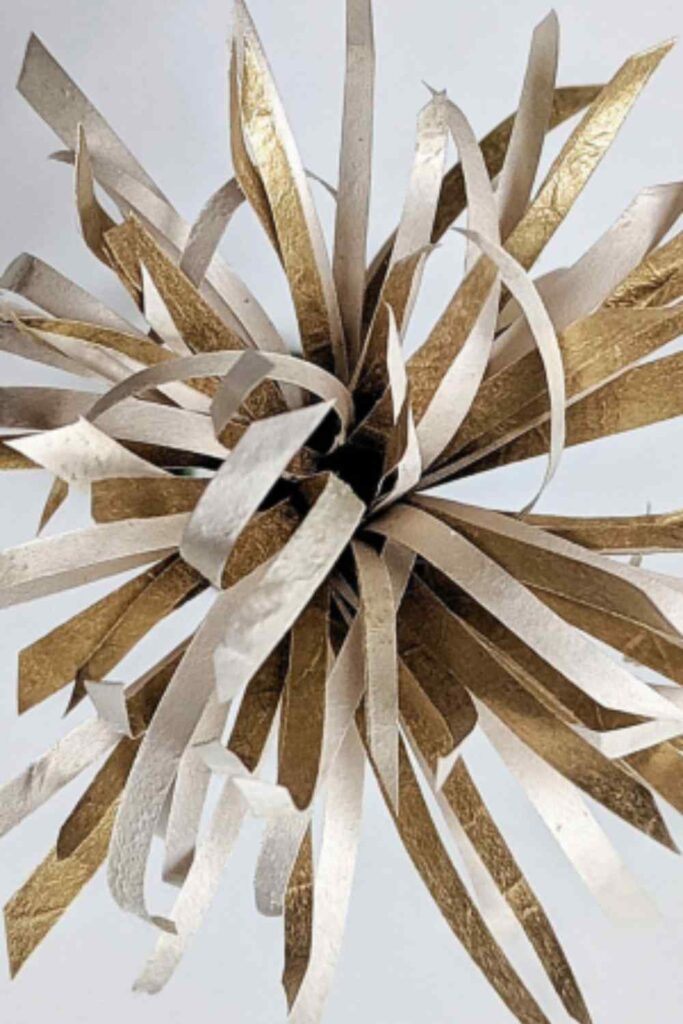
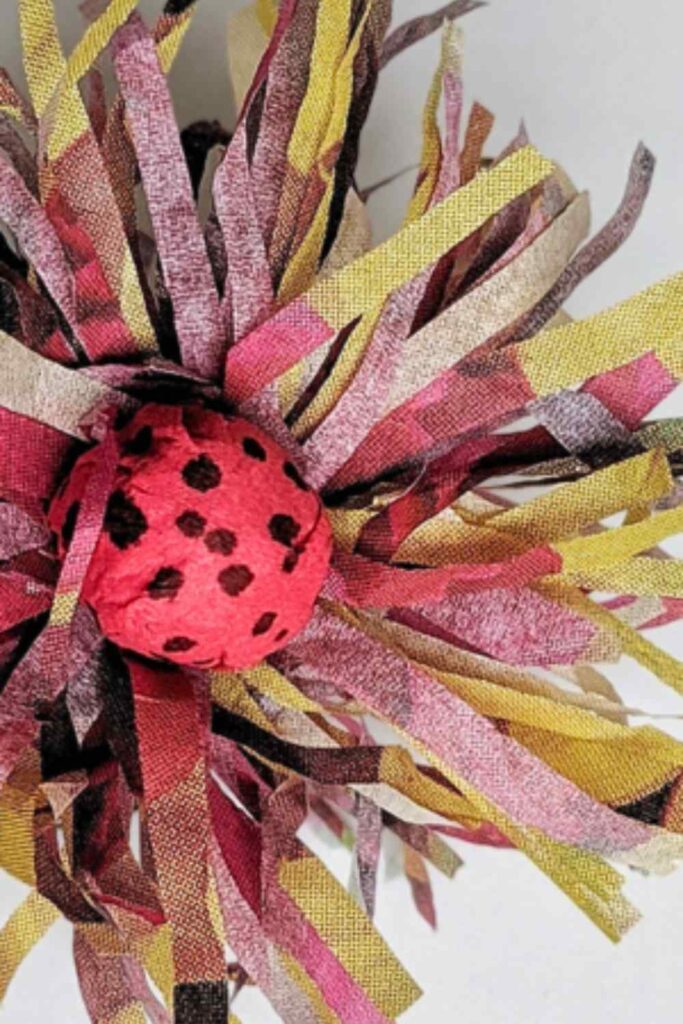
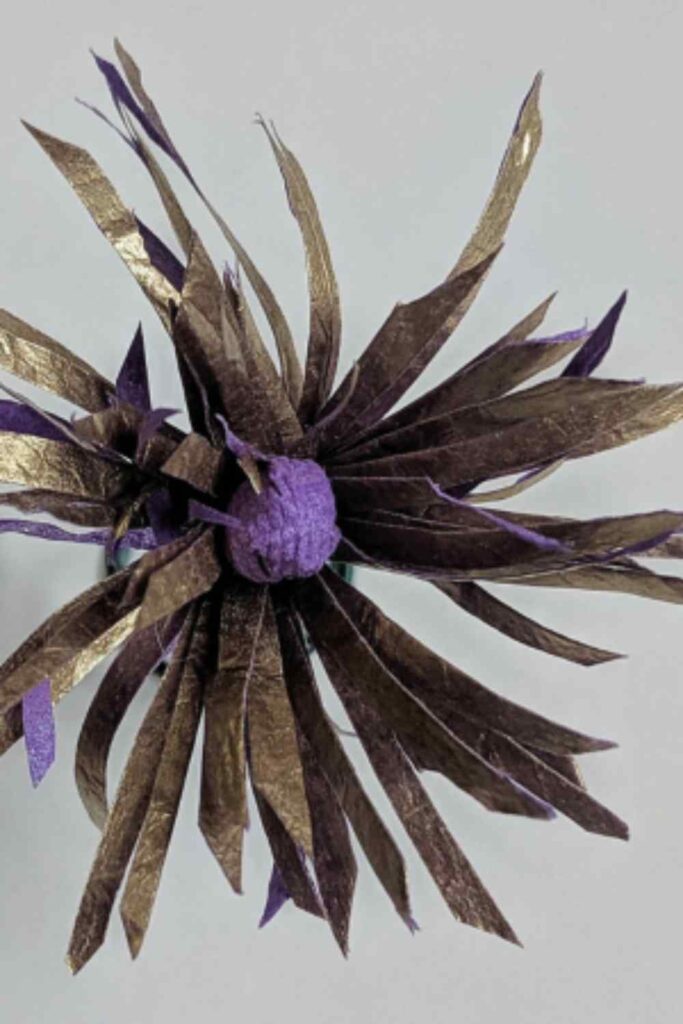
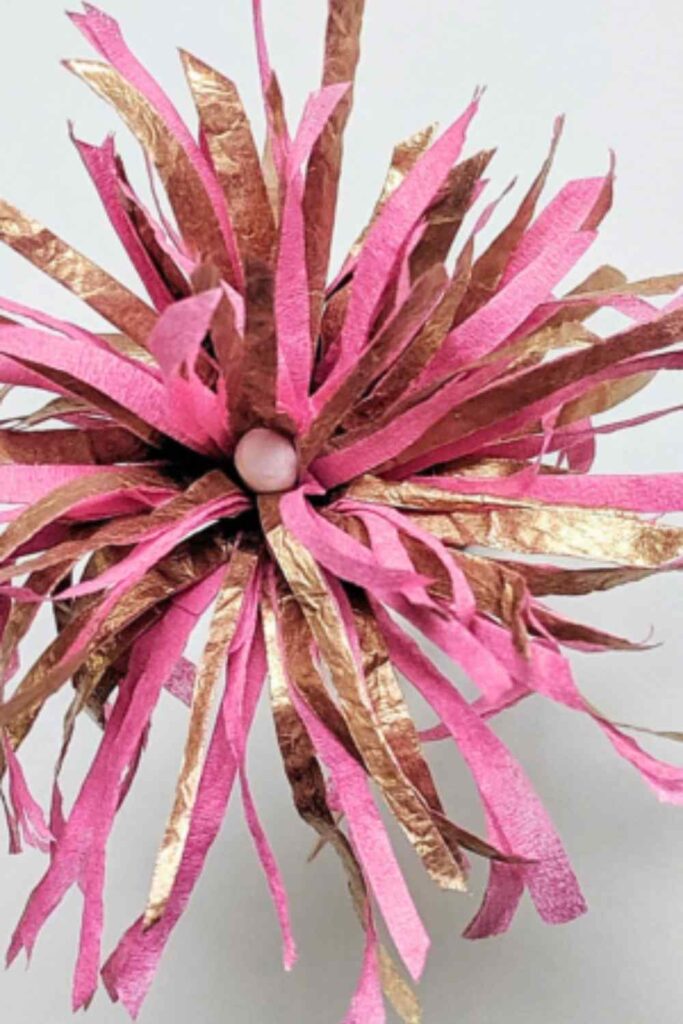
Below: 3-ply paper napkin fringe, with the third layer at the back removed. The two-toned, simple fringe centre is turquoise napkins and gold tissue that are fused and fringed.
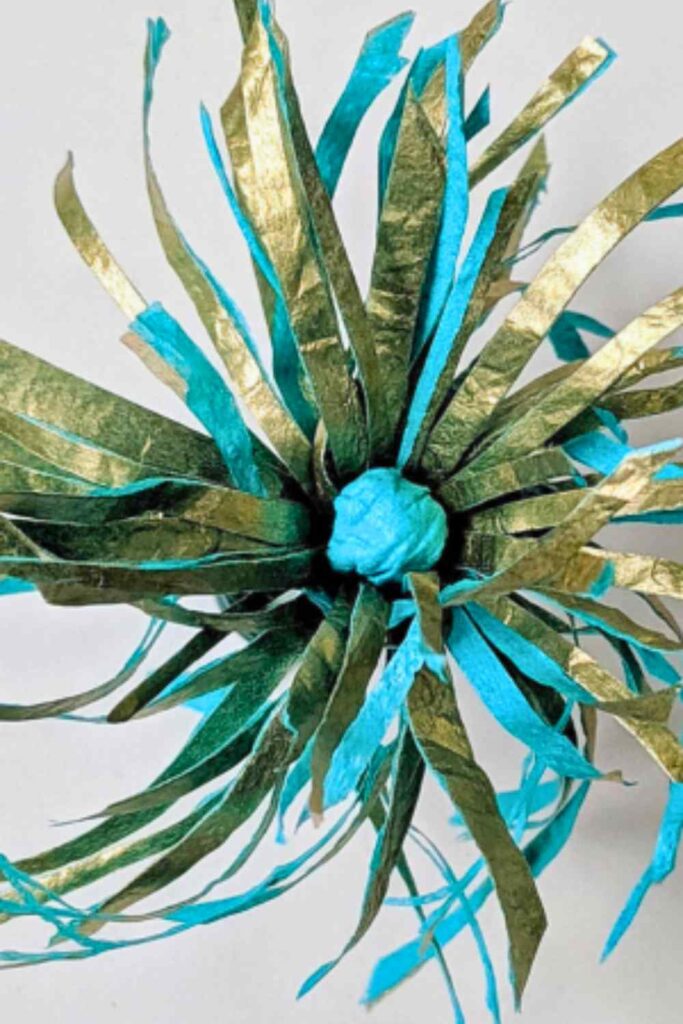
There, you have it; these paper flower centres are relatively easy to make. Remember, the supplies list can be long or short; you choose.
I hope you have found ideas to take away; may you pass them on to others.
Thank you for taking the time to drop by and visit.
If the Lord will, I’ll see you next time.

